I’ve been wanting to do some metal casting ever since I came across this
series of books which teaches how to build ones own metalworking machinery. Metalworking is not something I’ve tried before and I don’t really have a need for it (yet, perhaps), but the projects seem cool.In order to build said machinery, you have to first learn how to
cast metal and there’s actually a fair amount of interest in this one out there. My favorite link is
this one and
this page in particular.
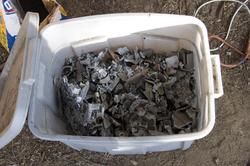
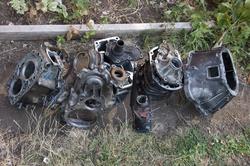
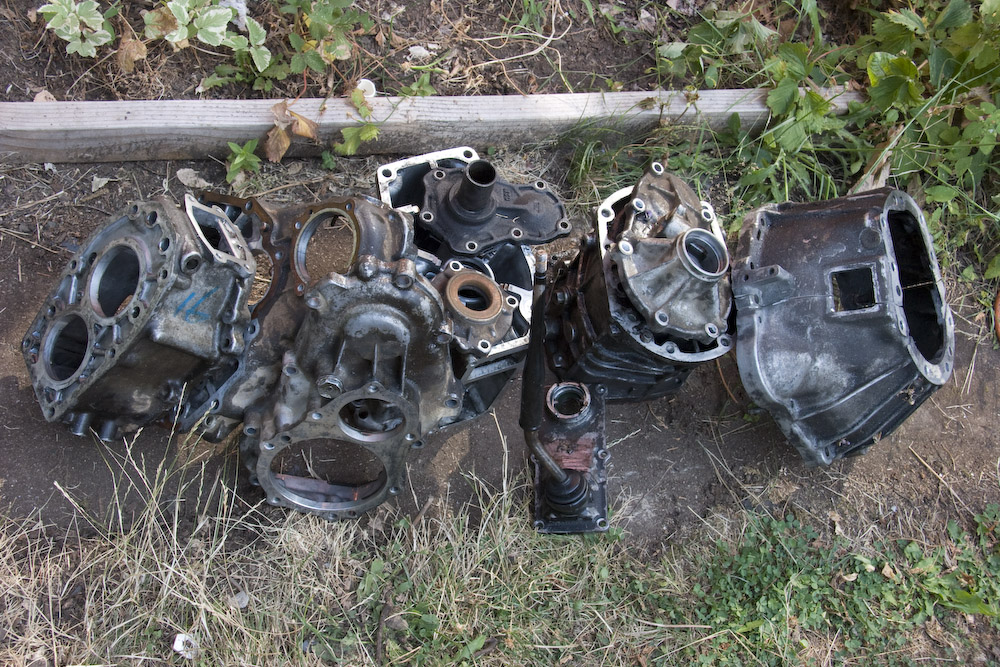
So I got some old broken down lawnmowers from a friend who was moving out of her house and I got an old toyota tranmission from someone off craigslist. Thankfully, I’ve got my
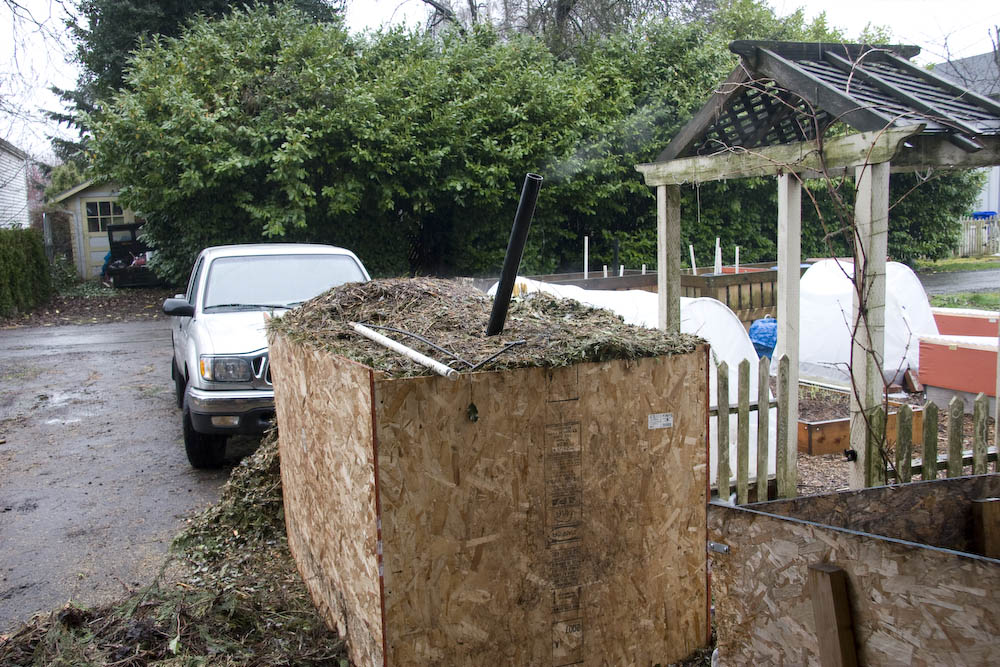
big rocket stove to get the larger pieces hot enough to break them into more manageable bits.
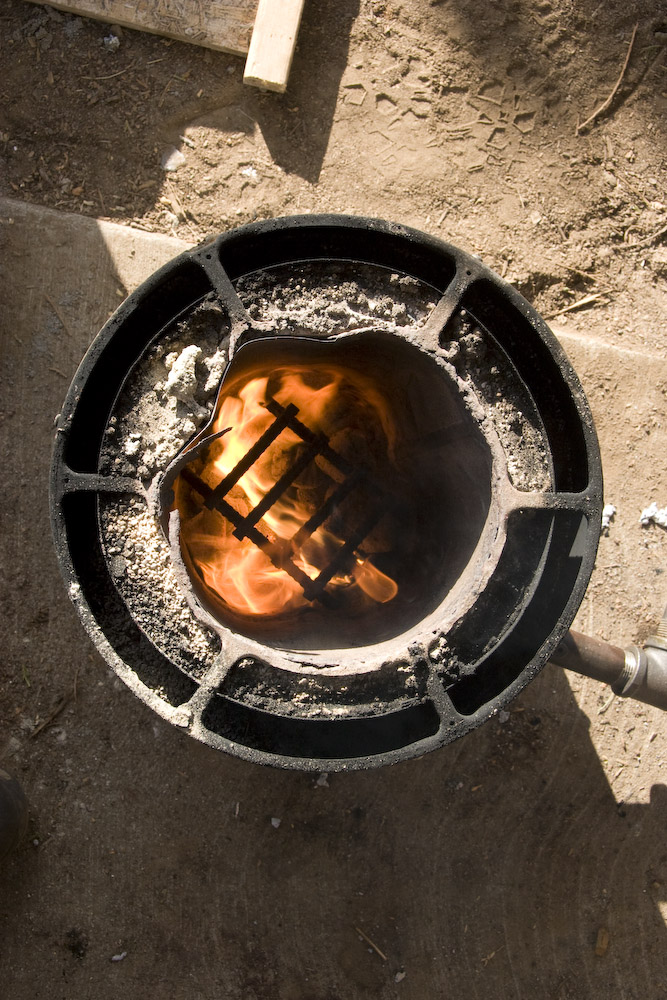
Aluminum melts at 1220 degrees fahrenheit. That seems pretty hot, but it’s actually not. If you take a wood fire and blow air on it, you can reach that. If it sounds like an airplane is about to take off, you’re in good shape.
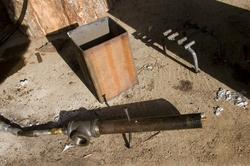
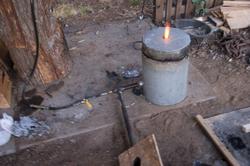
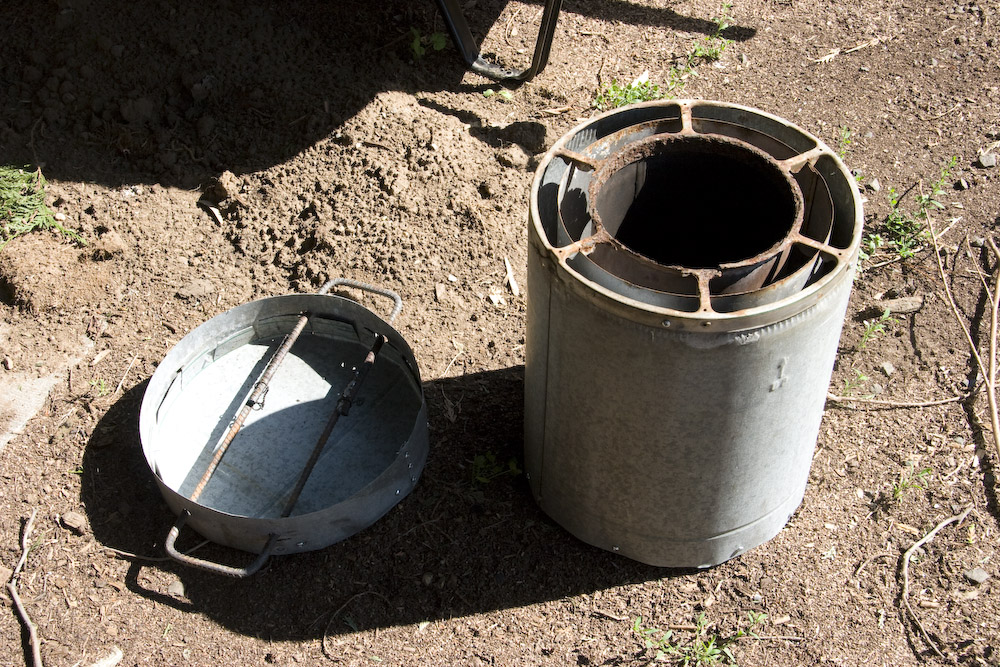
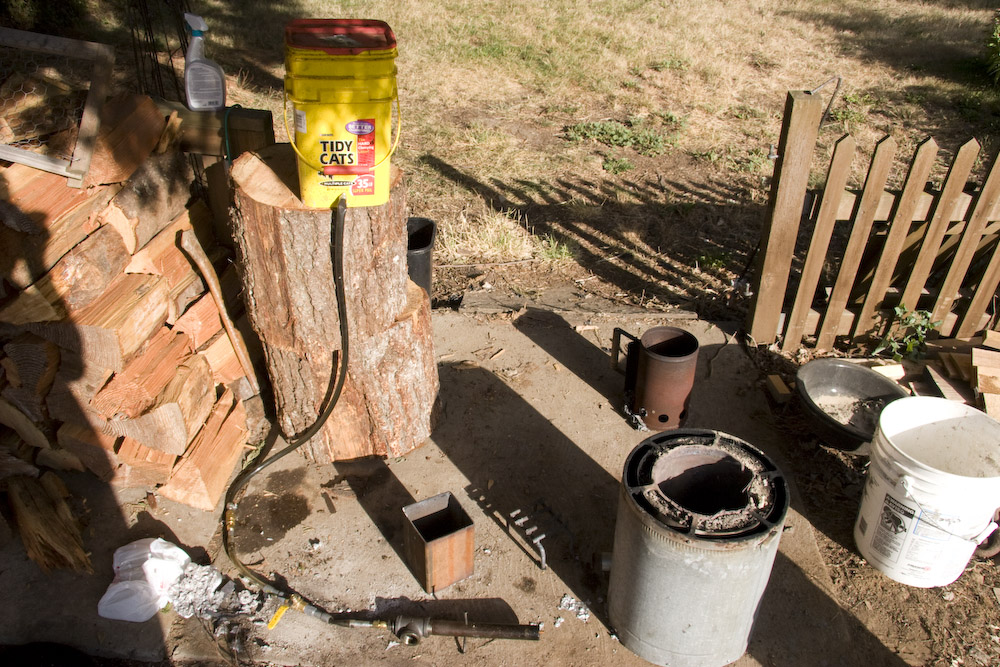
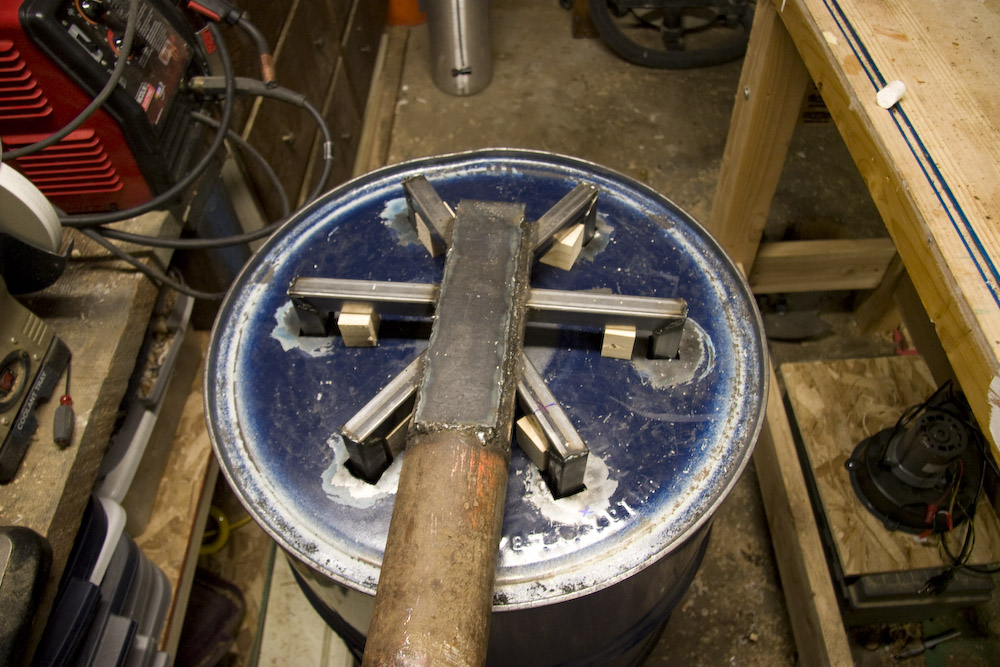
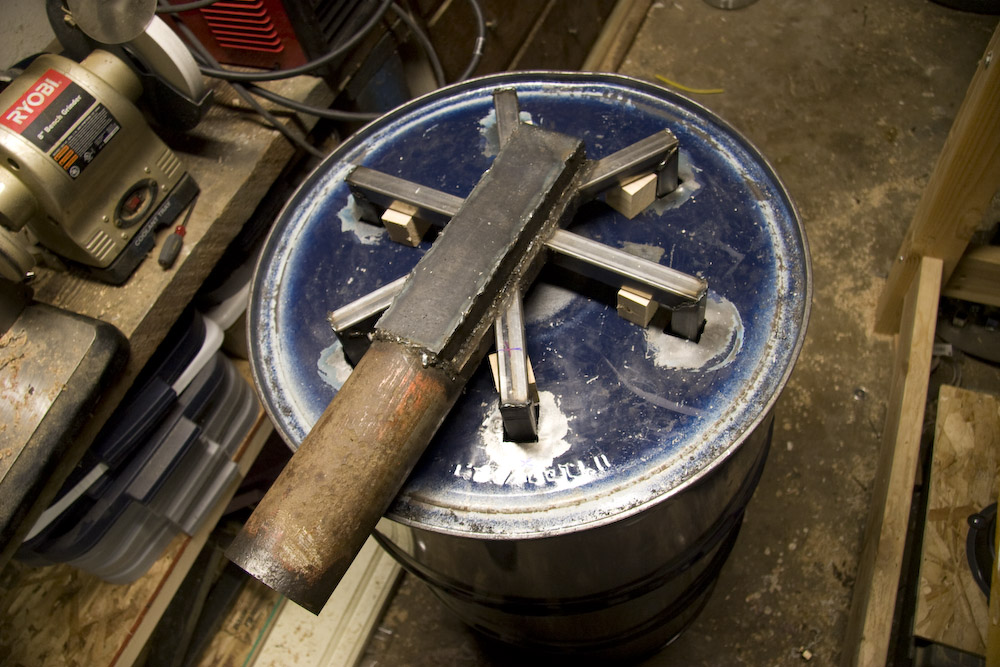
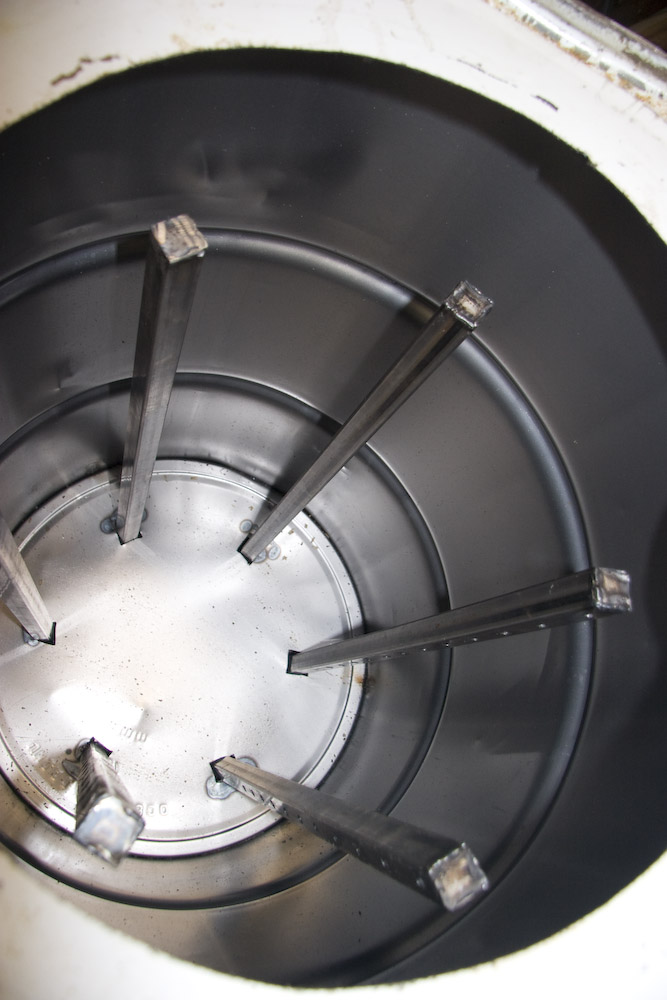
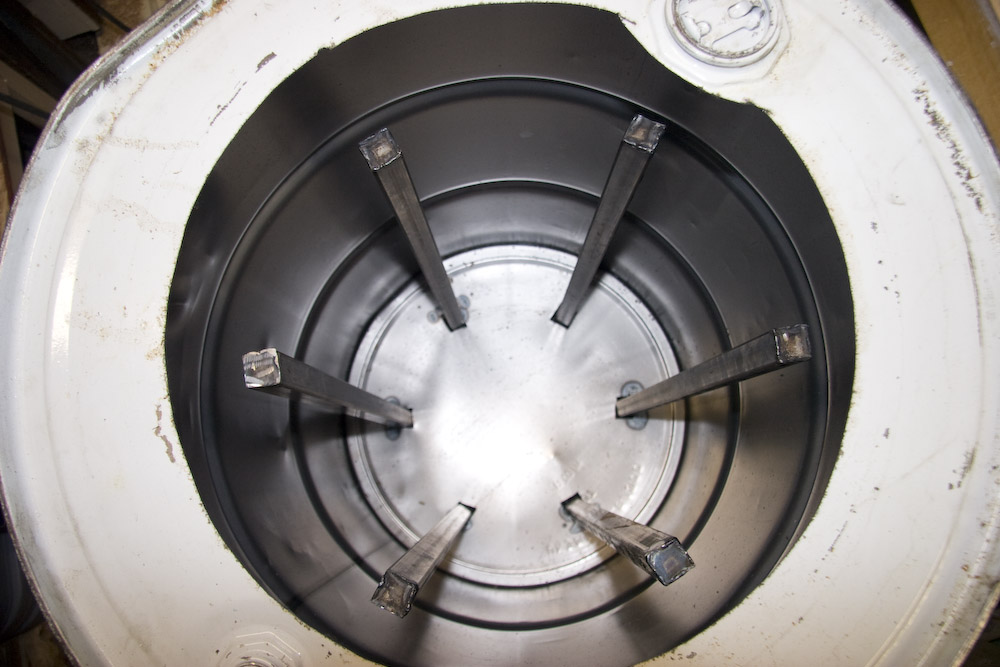
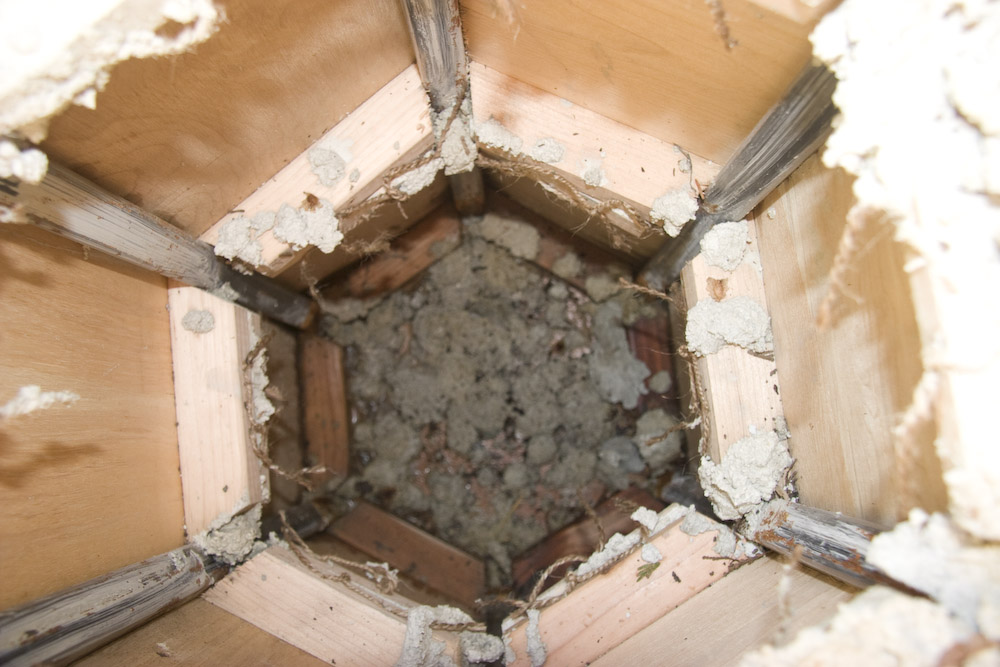
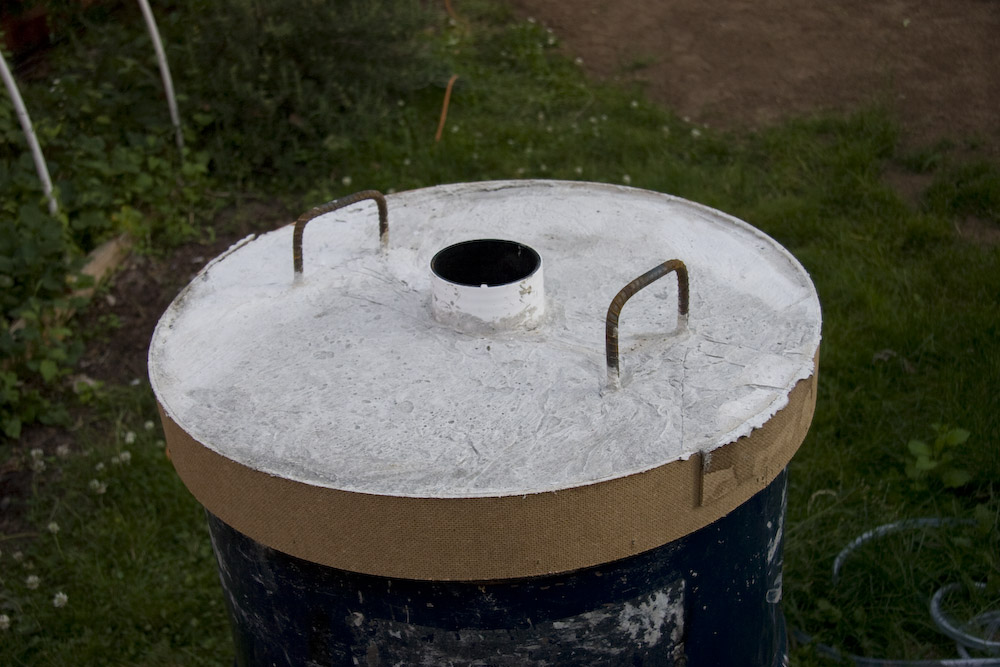
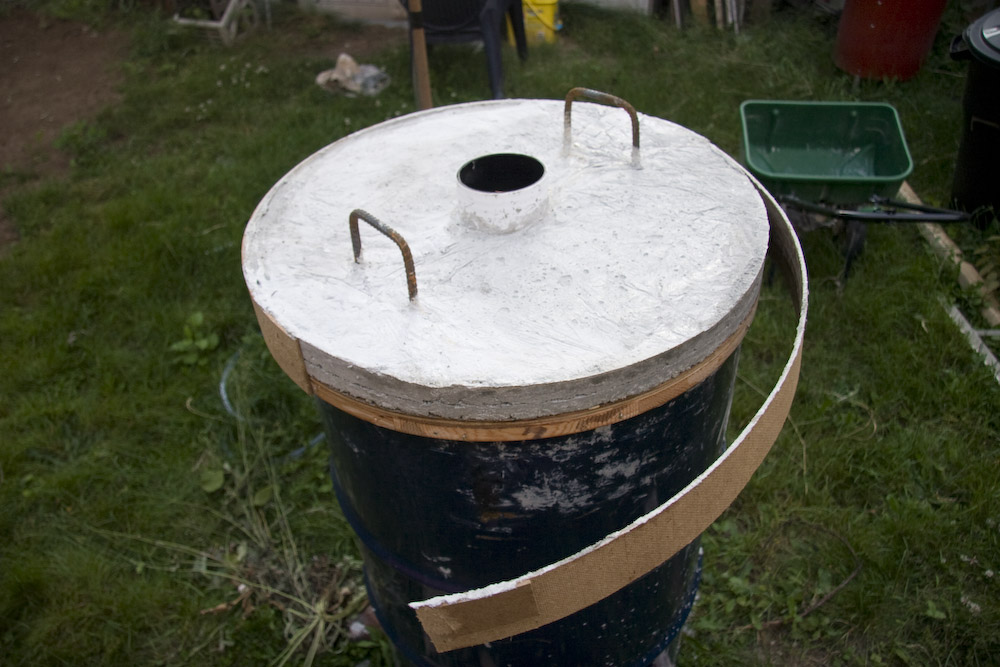
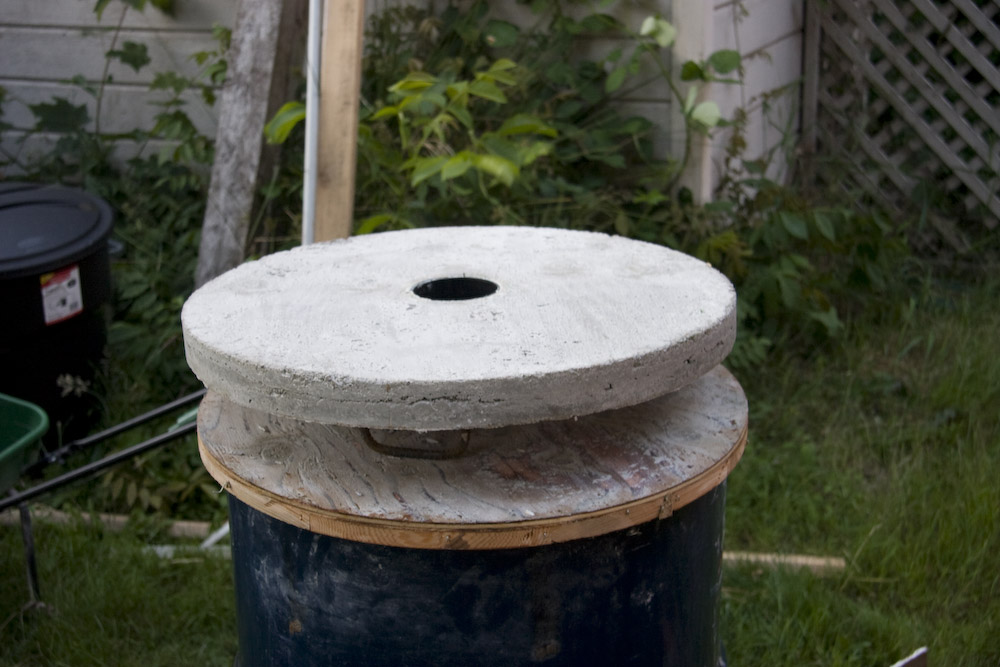
My furnace is made out of an old piece of wood stove venting.
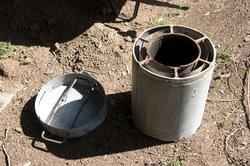
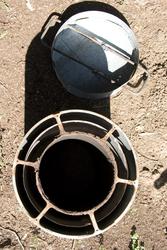
The inner space was filled with a simple mix of concrete, fireclay, sand, and perlite. I filled the outer space with just perlite to act as insulation.
What do I use for fuel? Used motor oil of course. I had some “laying around” from the last couple times I changed the oil in my truck. The link above as well as
this one prompted me to try it.
As always, click the pictures below for larger images.
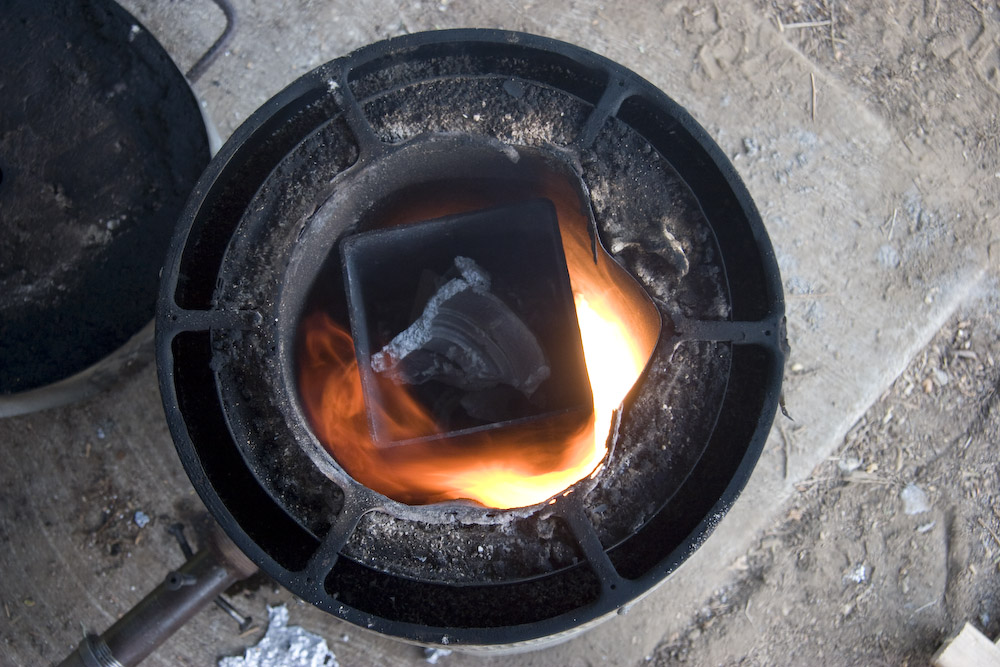
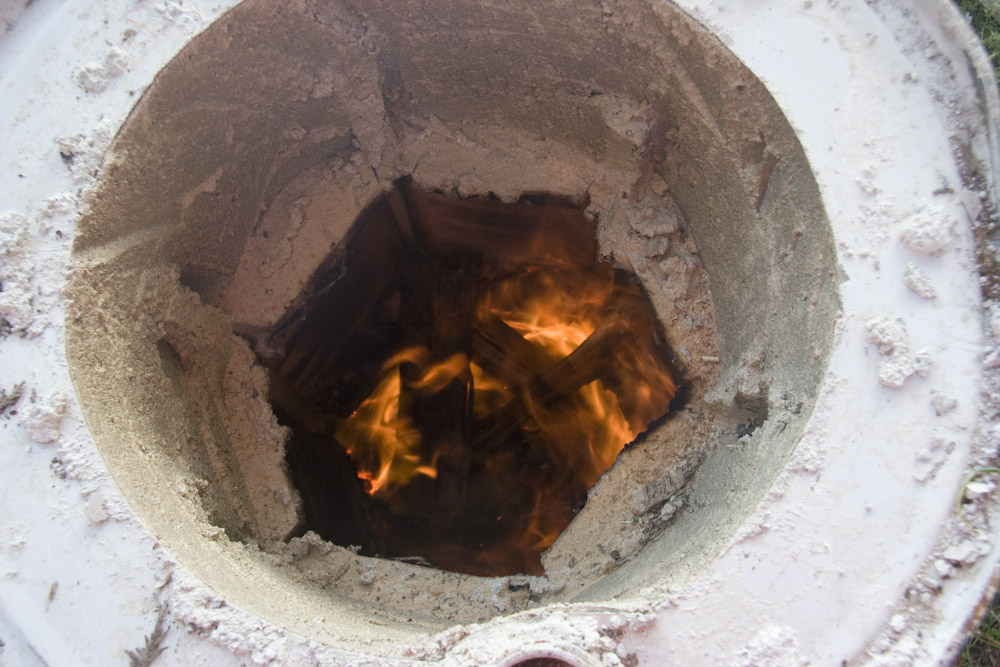
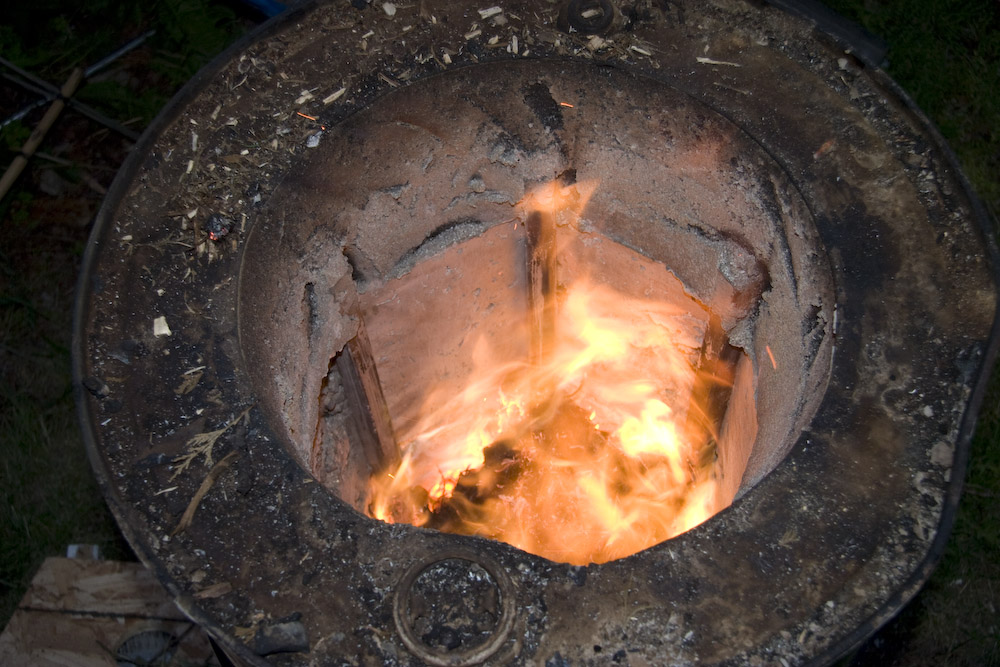
The basic idea is to blow air into whatever it is you’re burning. In my case, I start with some charcoal, maybe 10 or 15 pieces. If you look closely at the picture on the right, you’ll notice a length of 1/4″ copper tubing sticking out both ends. The two bolts you see and one that you don’t hold the tubing centered. The left end is connected to some plastic tubing, through a valve to the kitty litter bucket on the chopping rounds. To connect to the kitty litter bucket, I simple drilled a hold a little smaller than the 3/8″ nipple (I wrote nipple, huh huh)
Also notice the small fireplace rack looking thing in the upper right corner of the picture on the right. That’s to give the flame some room to combust. It’s just rebar bent and welded.
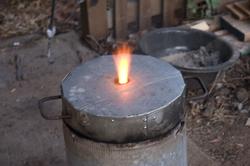
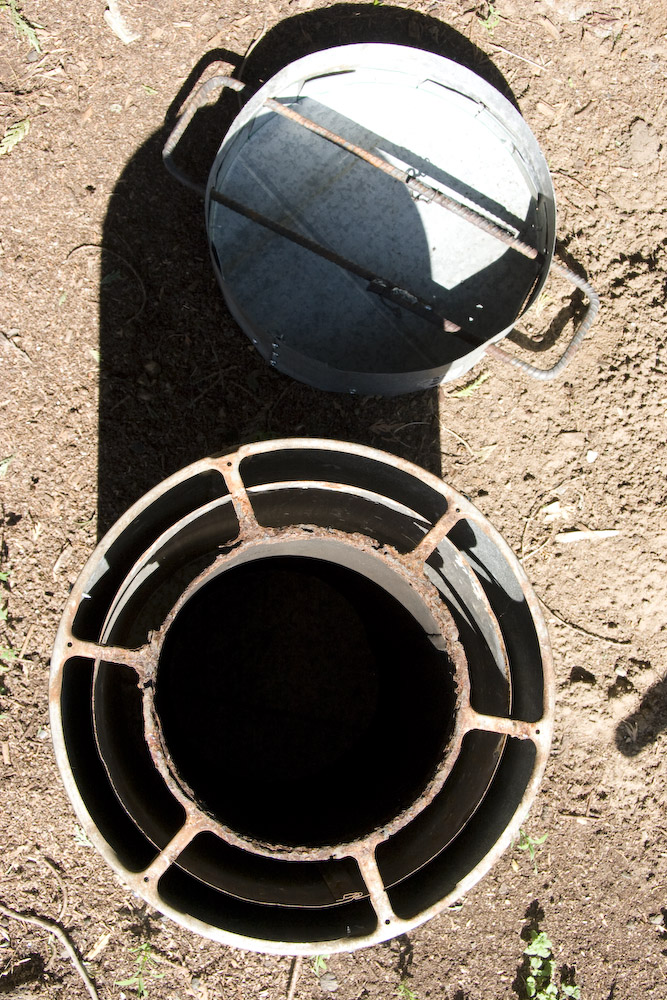
To lift the “crucible” (AKA the 5″ tubing) I used pliers. While this works, I need to rig up a better way to maneuver the thing.
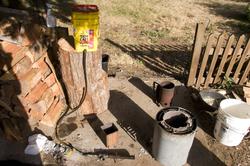
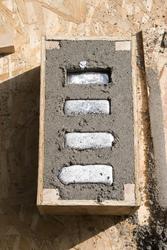
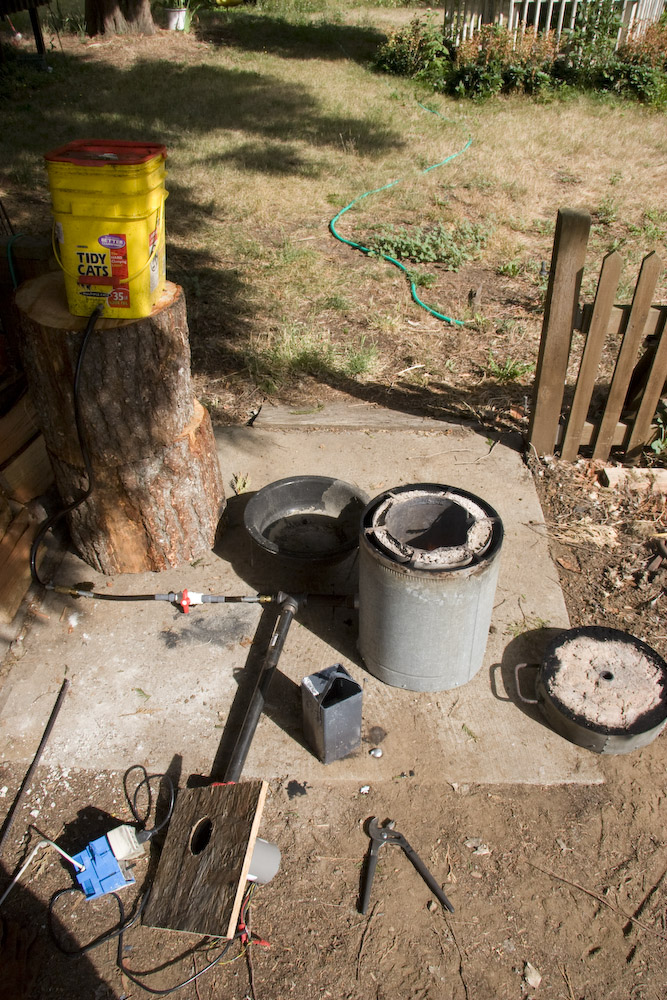
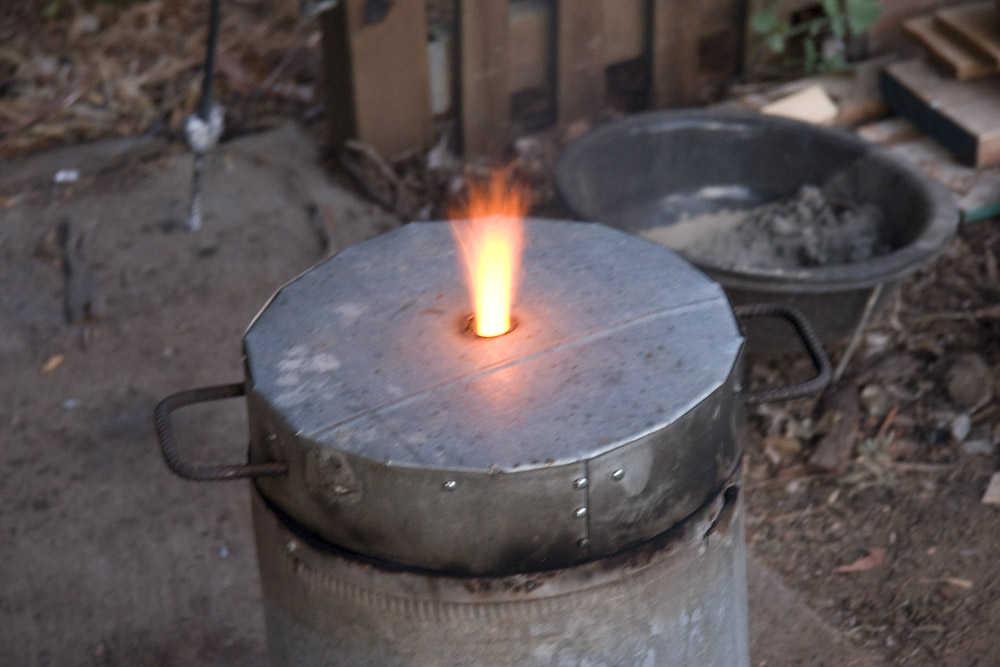
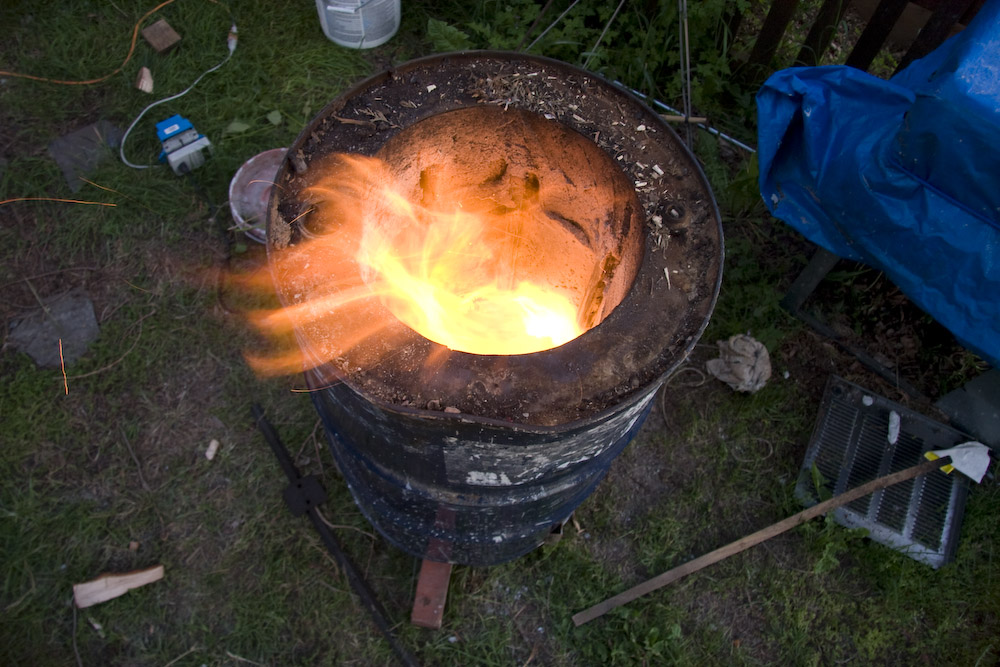
Here’s setup again fully assembled. This one has the valve I used at first. The adjustment is very sensitive. I quickly go from not much action to full liftoff. I now have a metal ball valve. still very sensitive, but less sticky.
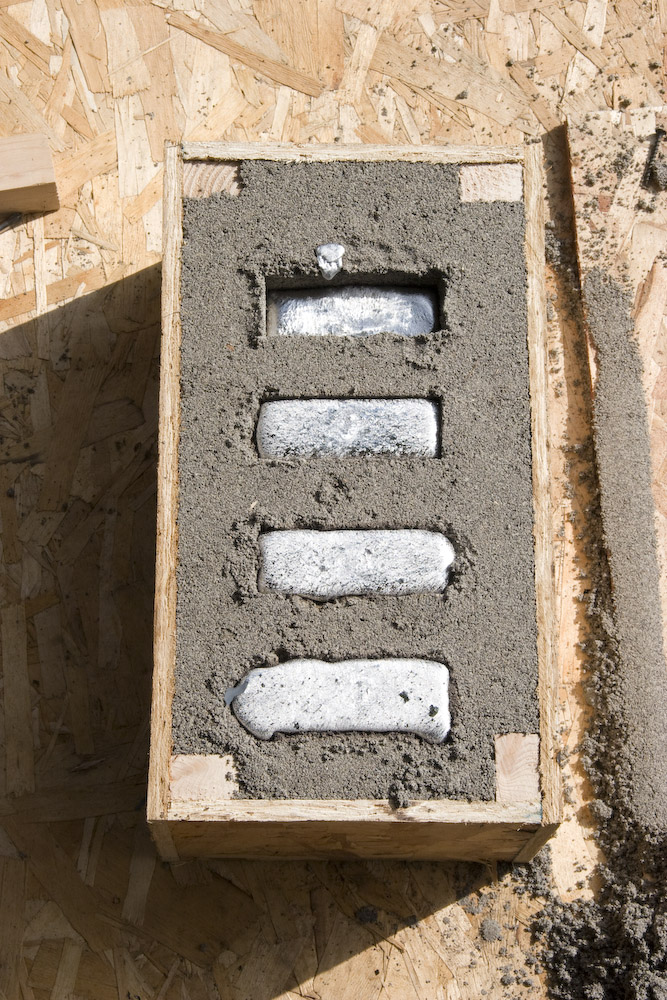
Also, note the first ingots.

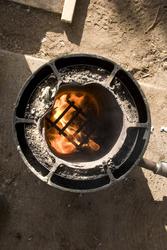
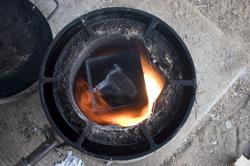
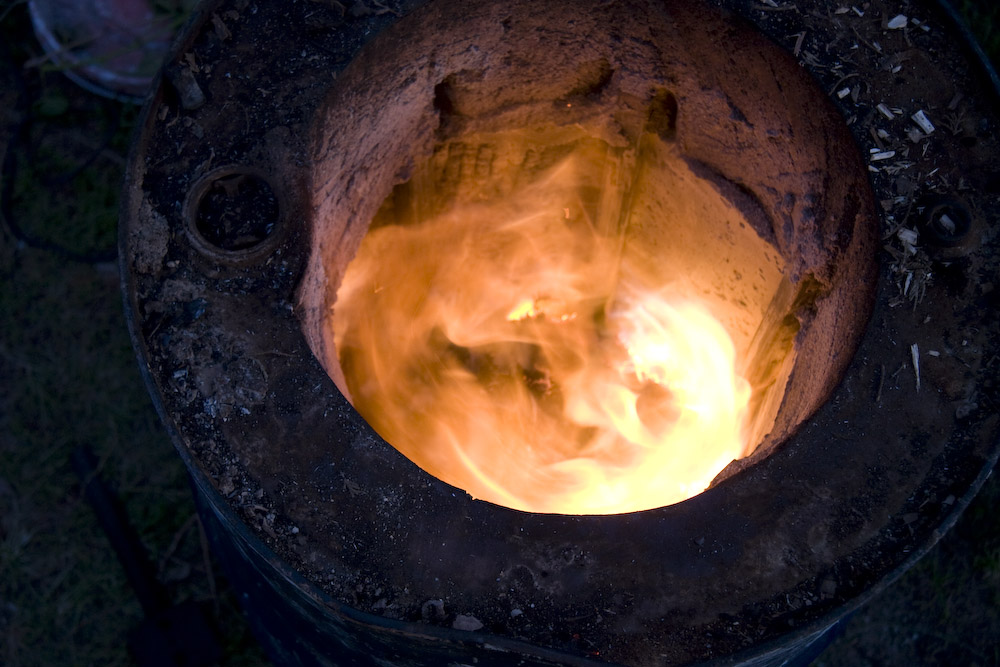
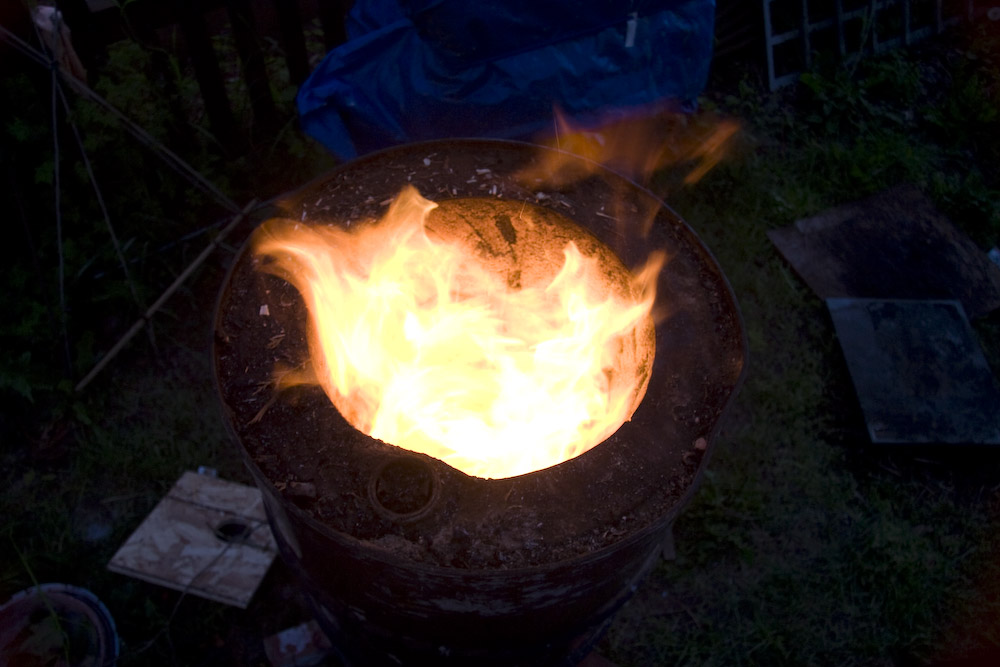
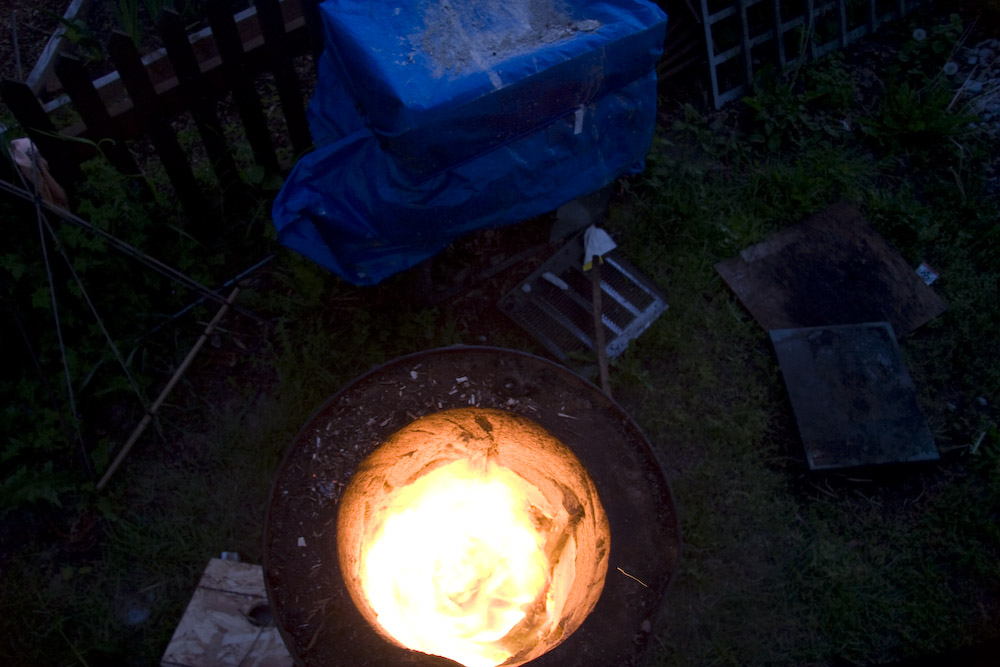
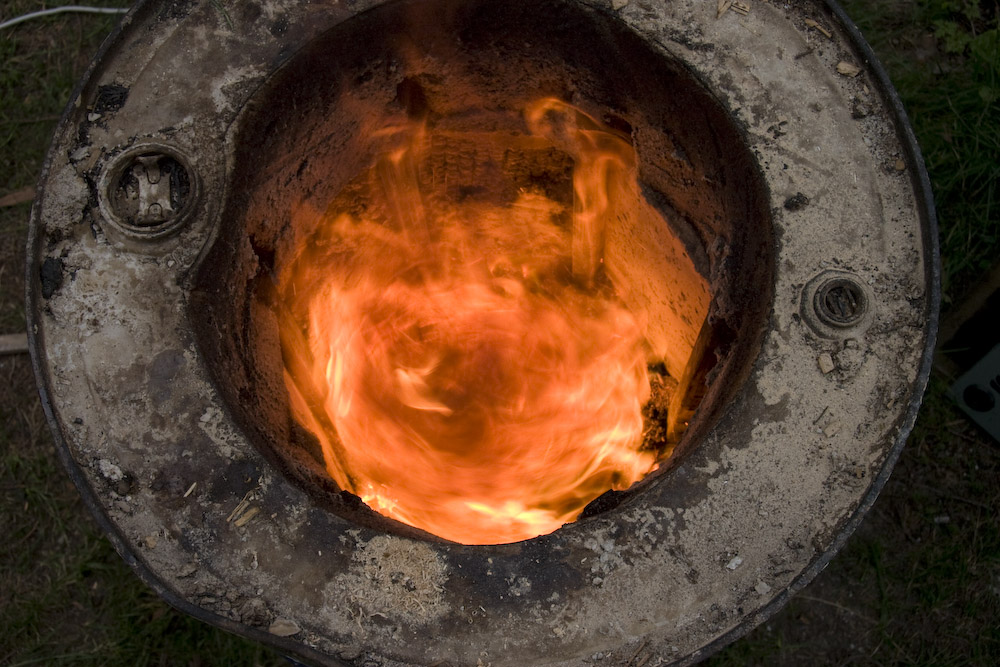
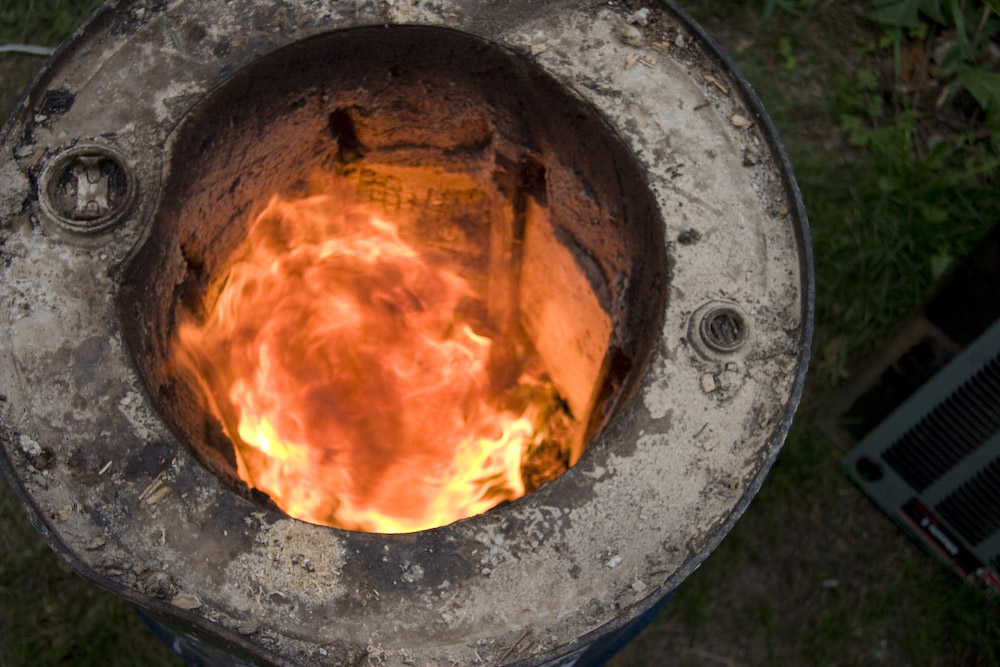
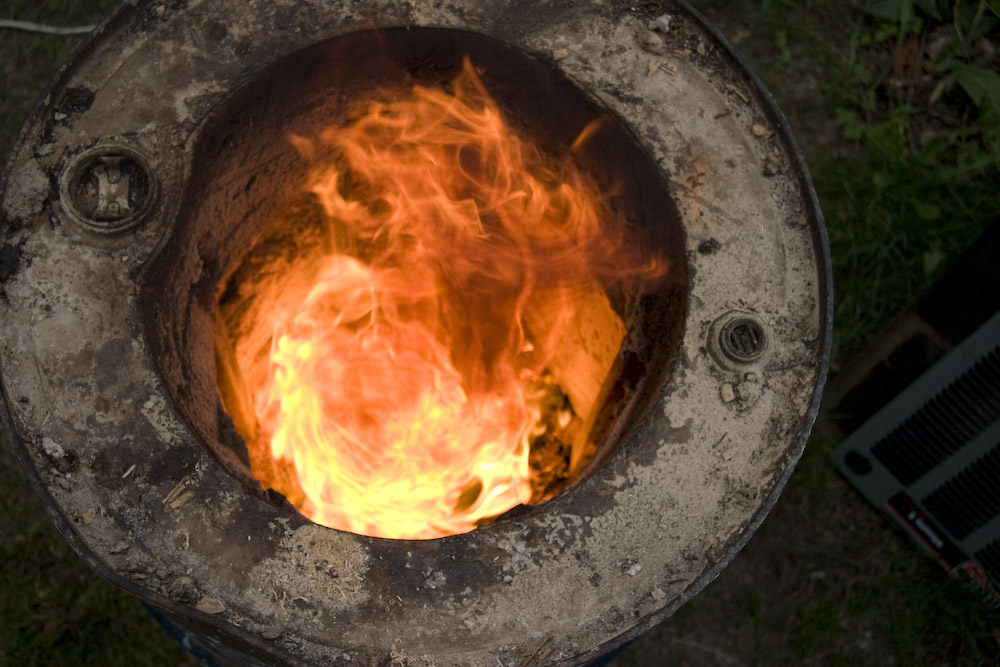
Here are some shot of the foundry running.
 I used a white sheet as the background and two 4×8 vinyl bathroom surround sheets from homedepot. probably $20 each. Note that this is easier if you have a two flashes. I’ve considered getting a third. 😉
Also this one:
I used a white sheet as the background and two 4×8 vinyl bathroom surround sheets from homedepot. probably $20 each. Note that this is easier if you have a two flashes. I’ve considered getting a third. 😉
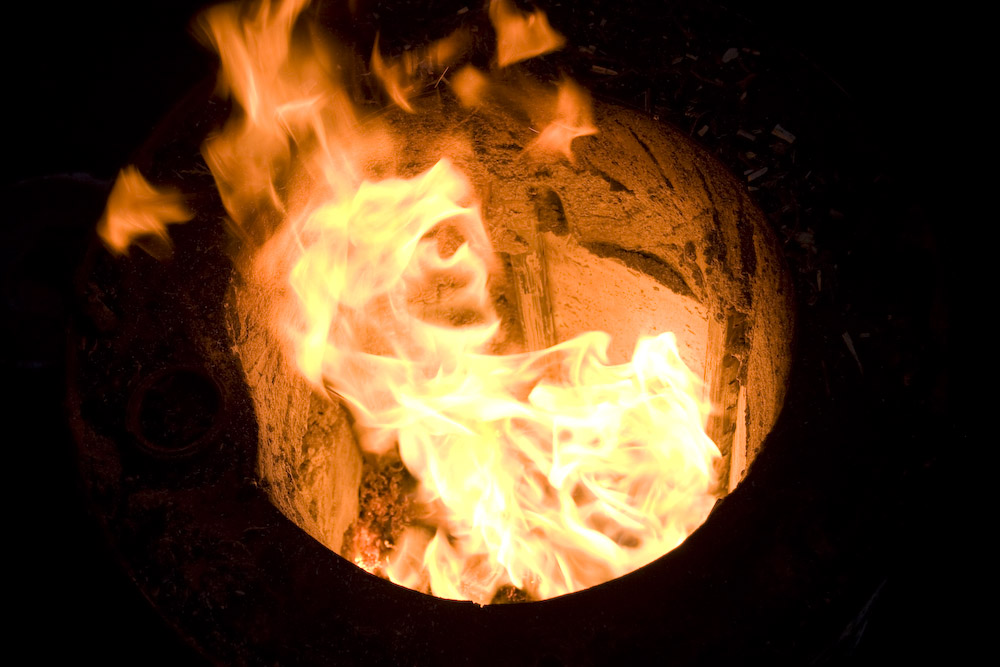
Also this one: This one I took with a black sheet:


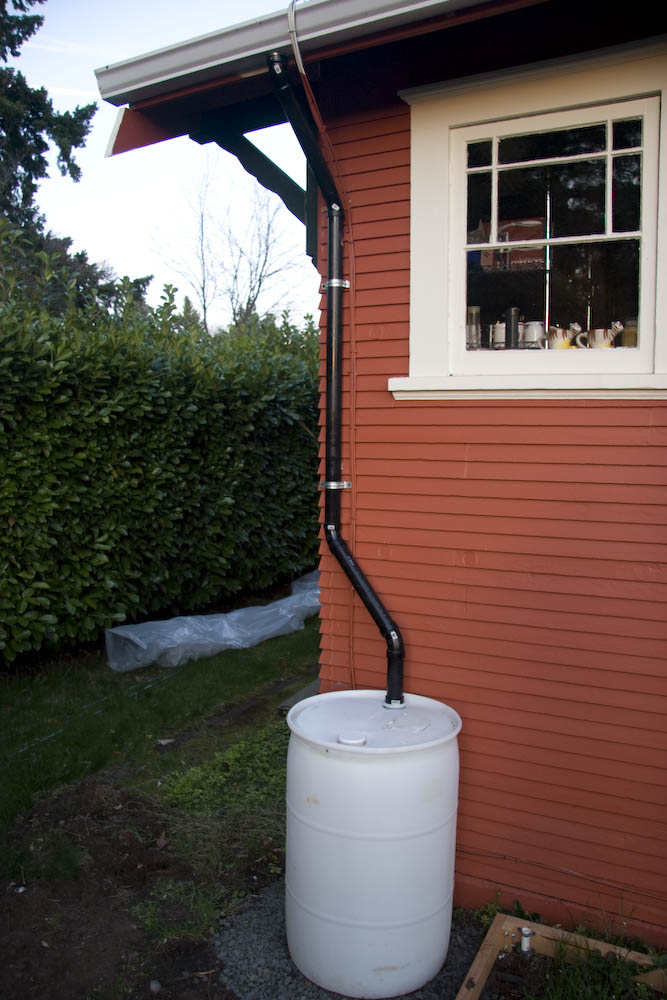
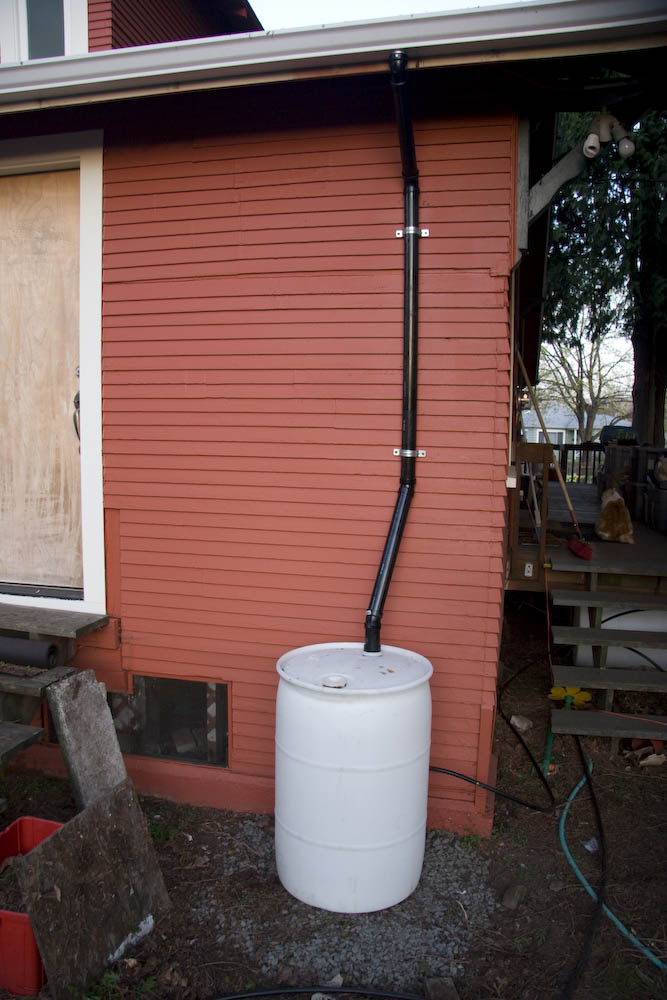
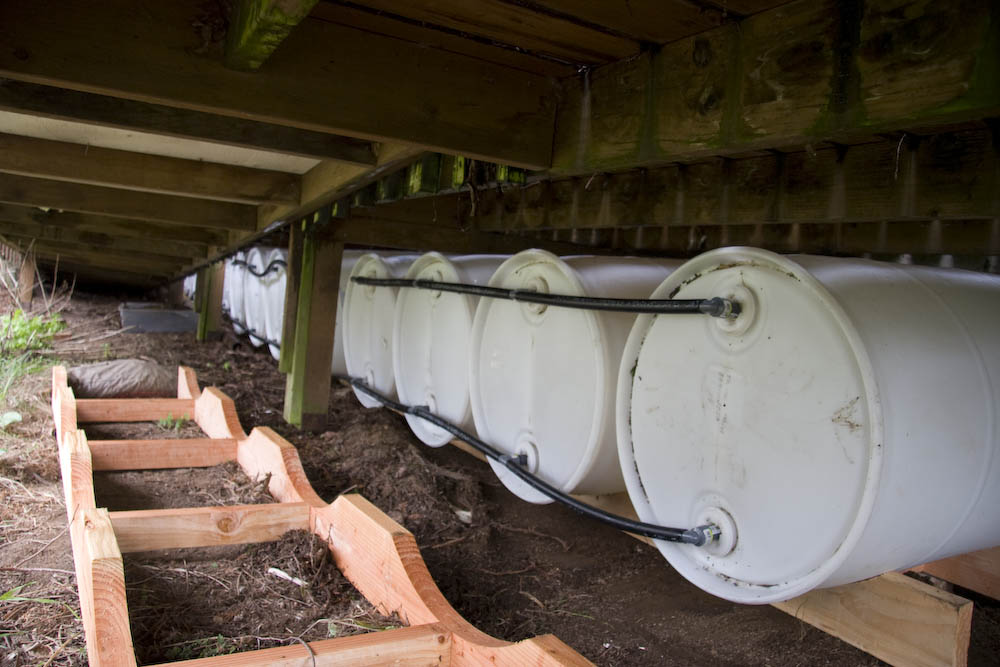
 To connect to the downspouts, I used 2″ ABS (drain) pipes.