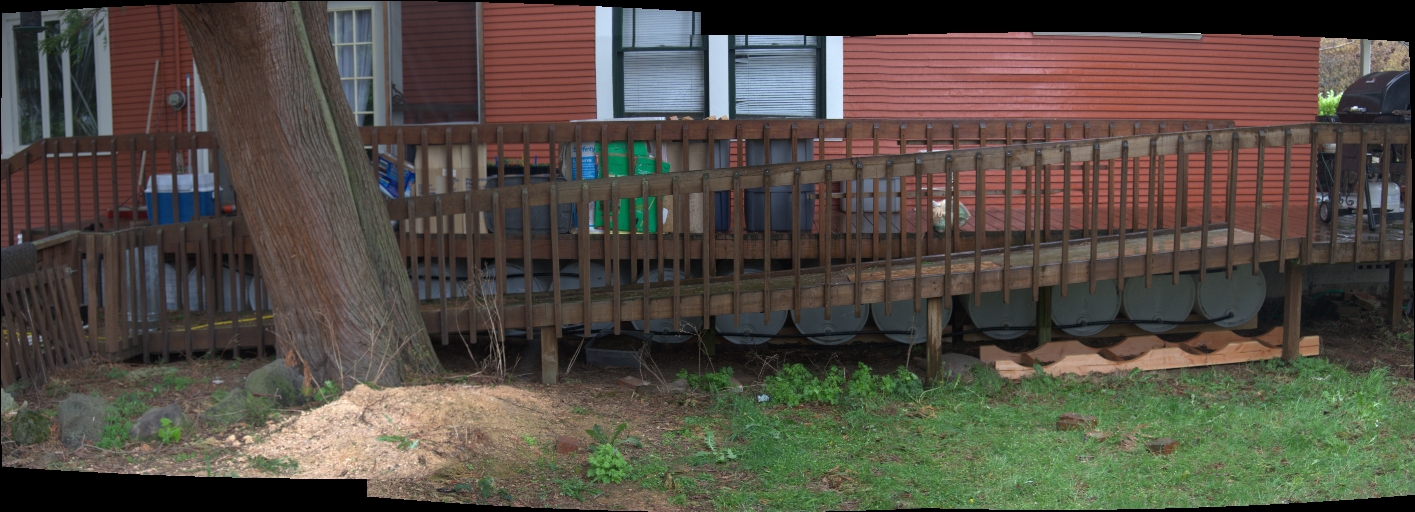
 I’ve been wanting to put in some rainbarrels for a while now. Dan, a friend of ours from Robie’s job, has rain water collection at his house and I’ve thought of it ever since. Dan has two 275 gallon liquid “Totes” but I opted for regular 55 gallon barrels because they fit under the deck/porch.
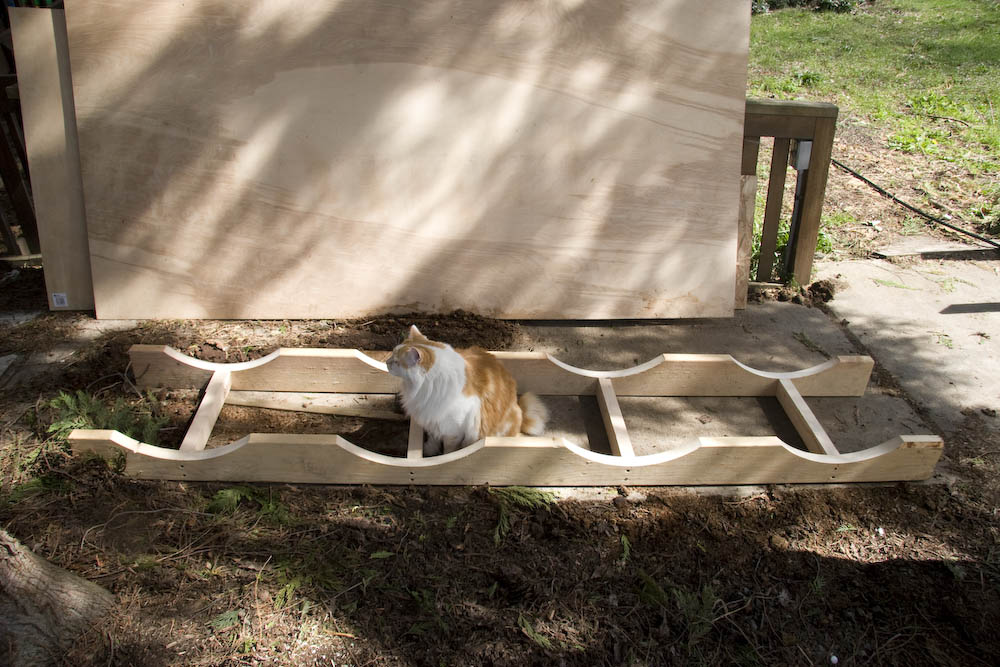
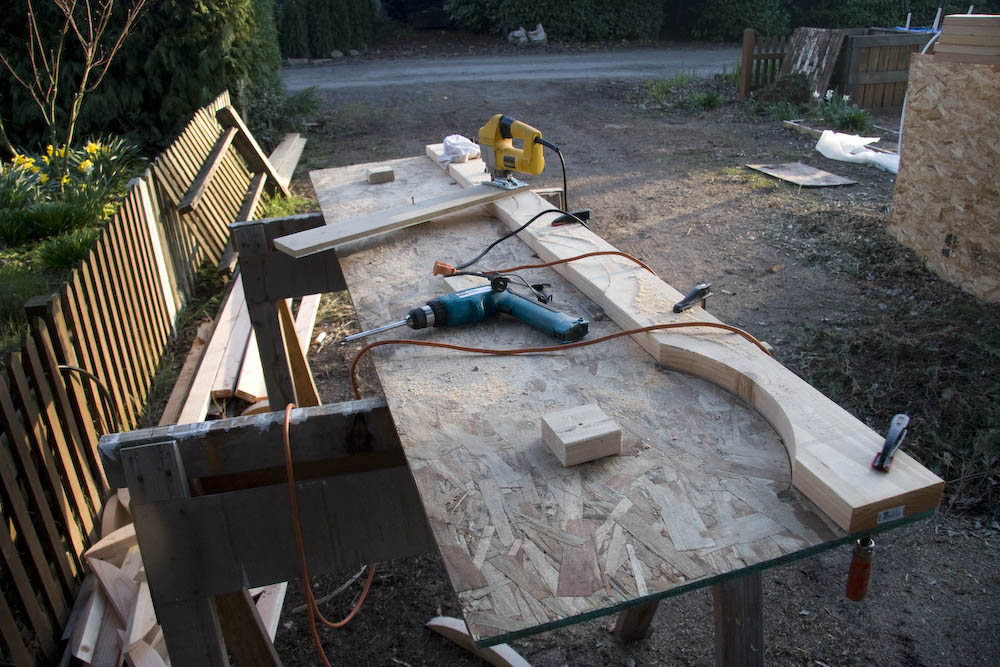
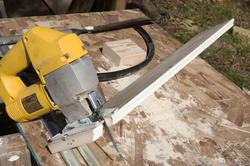
First I build some racks to hold and stabilize the barrels. As you can see in the pictures, I made a simple tramel for my jigsaw. It required a bit of adjustment for blade drift. What this means is the the blade of the saw has a certain direction it wants to go and after a while of following a certain trajectory, the blade will curve to the left or right. I”m not talking about the curve of the cut, but a curve in the blade itself. To compensate, I rotated the saw a little bit in the same direction of the blade curve and the blade stayed vertical.
Note that Frankie was very helpful.
I’ve been wanting to put in some rainbarrels for a while now. Dan, a friend of ours from Robie’s job, has rain water collection at his house and I’ve thought of it ever since. Dan has two 275 gallon liquid “Totes” but I opted for regular 55 gallon barrels because they fit under the deck/porch.
First I build some racks to hold and stabilize the barrels. As you can see in the pictures, I made a simple tramel for my jigsaw. It required a bit of adjustment for blade drift. What this means is the the blade of the saw has a certain direction it wants to go and after a while of following a certain trajectory, the blade will curve to the left or right. I”m not talking about the curve of the cut, but a curve in the blade itself. To compensate, I rotated the saw a little bit in the same direction of the blade curve and the blade stayed vertical.
Note that Frankie was very helpful.
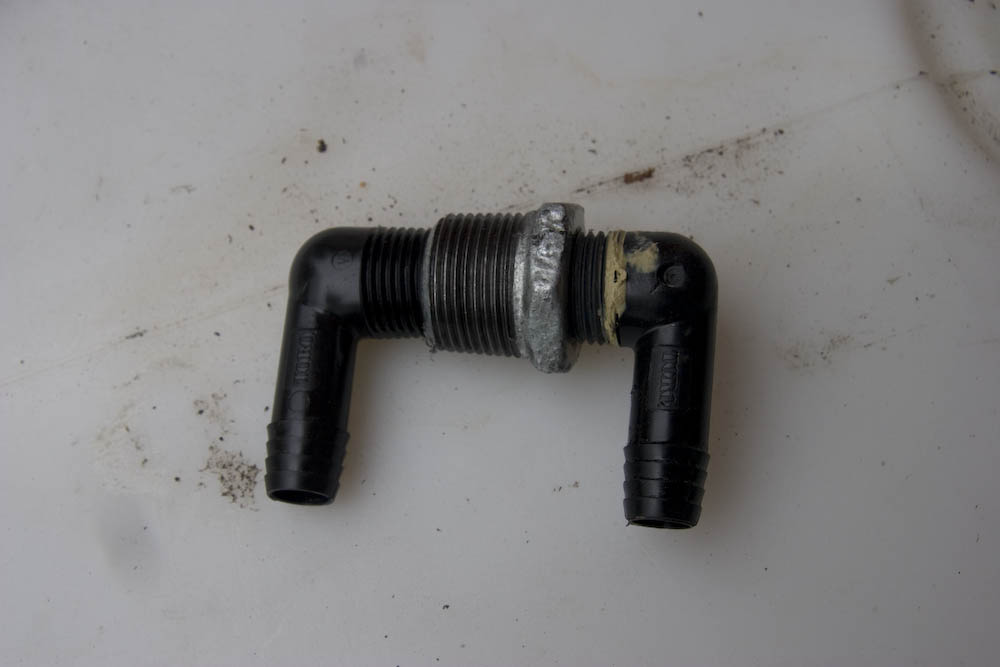
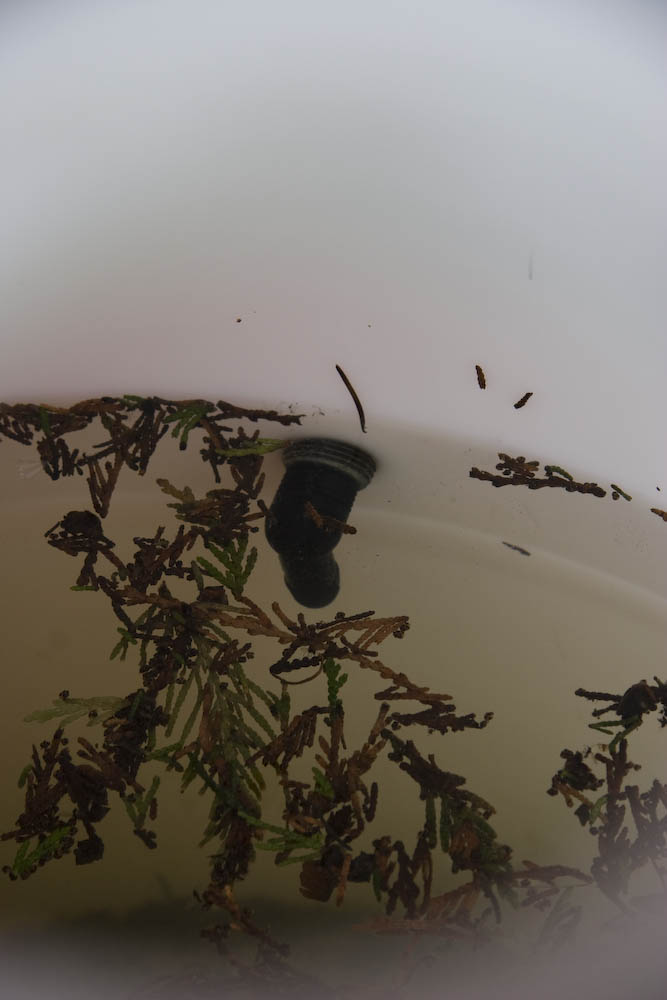
 To connect to the downspouts, I used 2″ ABS (drain) pipes.
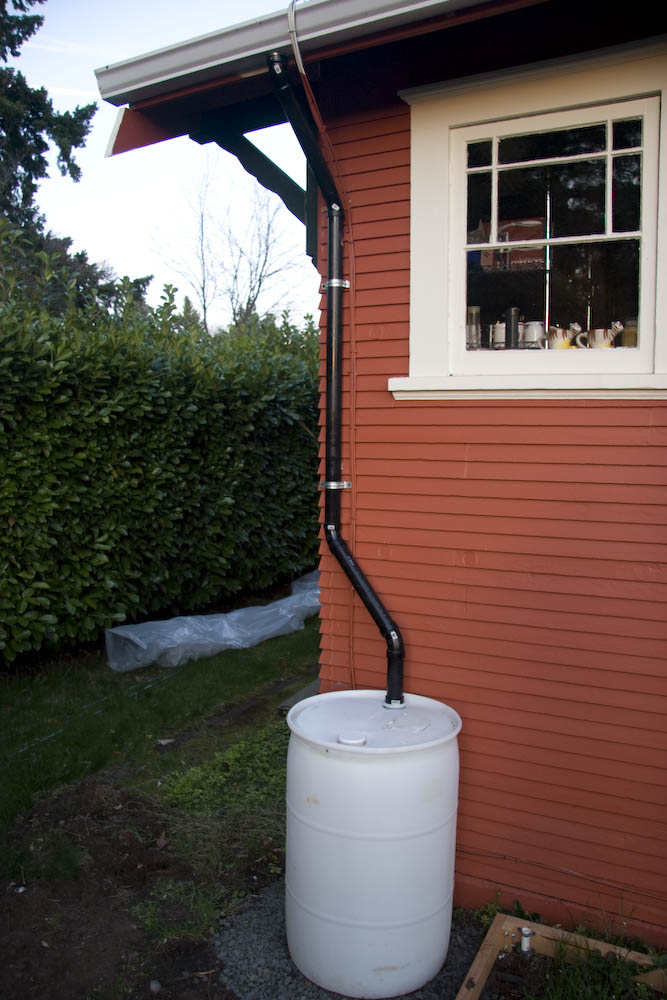
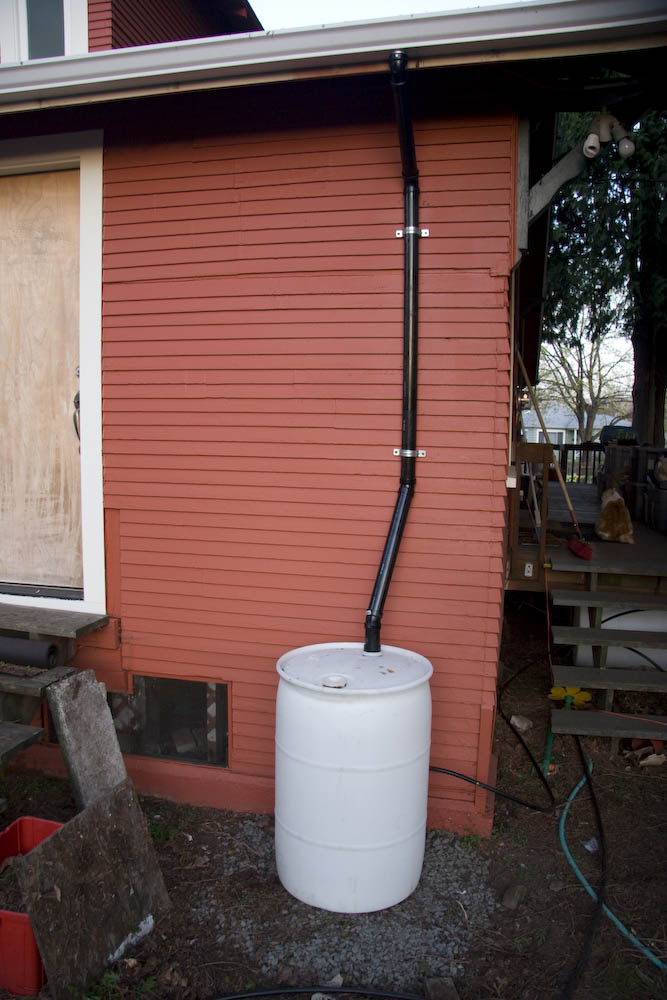 Because it’s inevitable, the crud comes down the gutters along with the water, I put in some features similar to a septic tank.
First, I extented the downspout well into the barrel. I epoxied a 1.5″ length of ABS inside the 2″ I was using. It extends to about 8″ from the bottom.
Second, for the exit, I make the water level be a little higher than the exit point. The overall exit is higher than the end of the 1.5″ pipe.
What this means is that water and crud are delivered directly to the bottom of the barrel and the crud will either sink or float. If it floats, I don’t want it to be channeled directly to the water exit and that’s why the corner is there.
That’s an awful explanation, but hopefully the pics help clear it up.
Because it’s inevitable, the crud comes down the gutters along with the water, I put in some features similar to a septic tank.
First, I extented the downspout well into the barrel. I epoxied a 1.5″ length of ABS inside the 2″ I was using. It extends to about 8″ from the bottom.
Second, for the exit, I make the water level be a little higher than the exit point. The overall exit is higher than the end of the 1.5″ pipe.
What this means is that water and crud are delivered directly to the bottom of the barrel and the crud will either sink or float. If it floats, I don’t want it to be channeled directly to the water exit and that’s why the corner is there.
That’s an awful explanation, but hopefully the pics help clear it up.

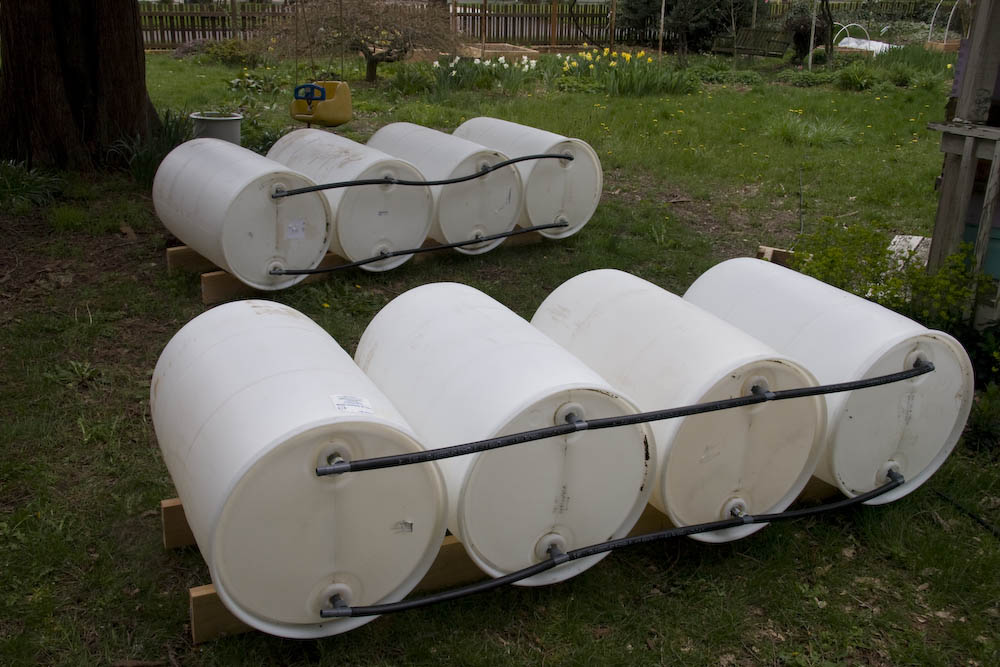
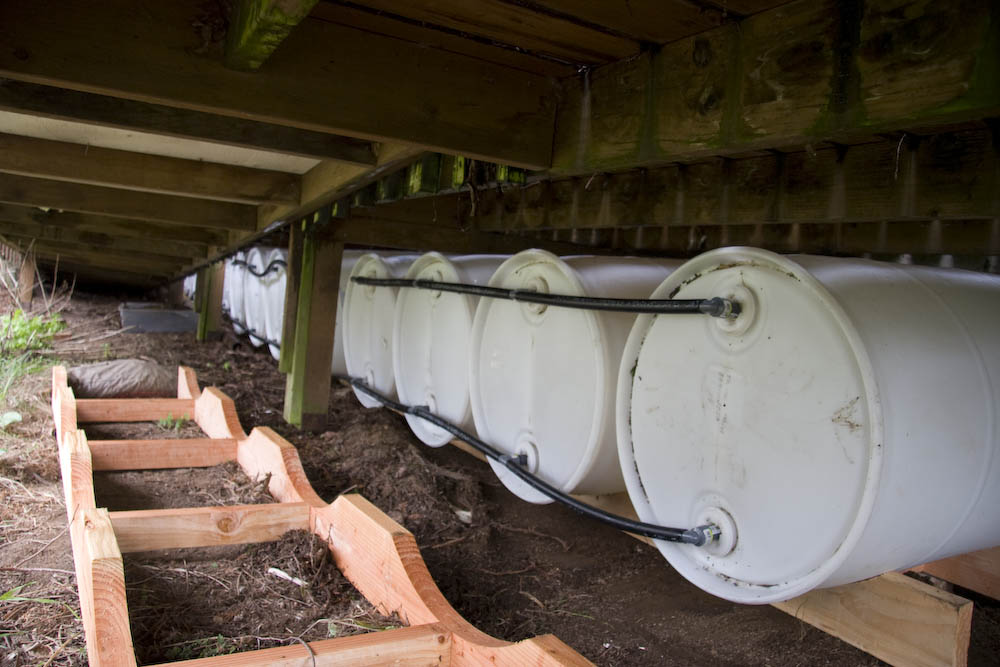
 Here are some of the barrels before I dragged them under the porch.
Rain Barrels