


Just another WordPress site
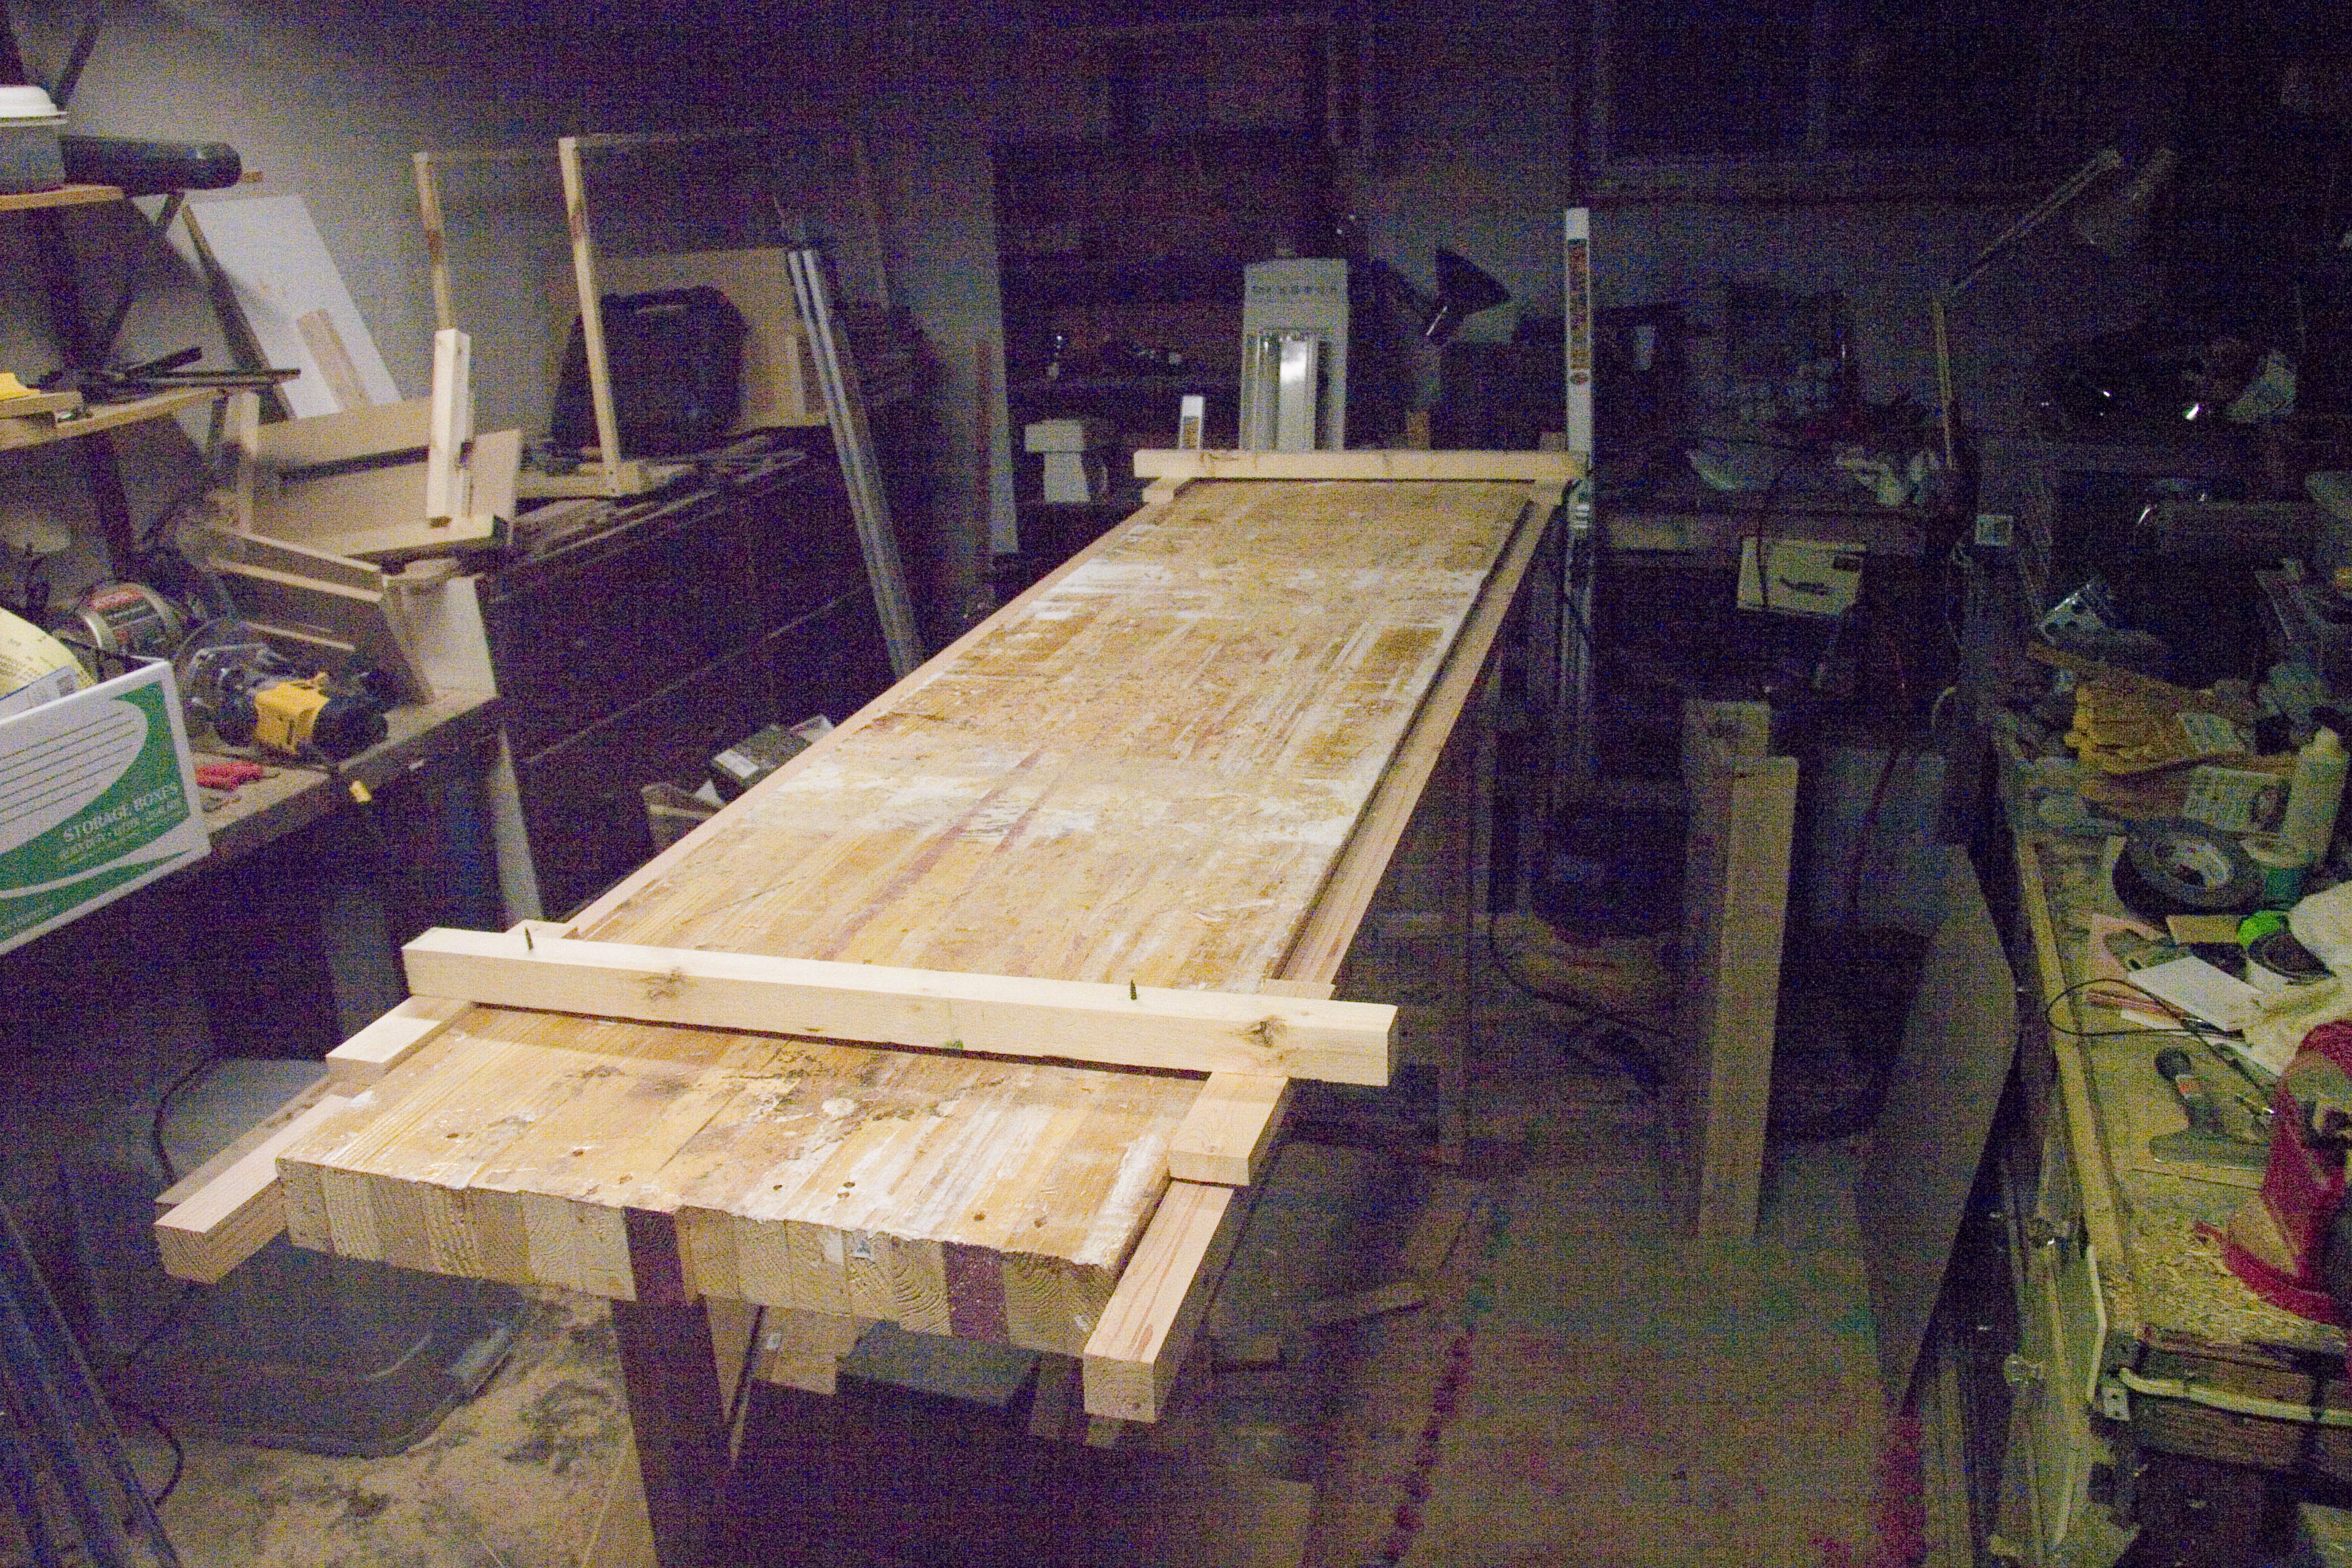
 Once the rails are in place, I have a jig that slides along them
 Here is the results about halfway through the process.
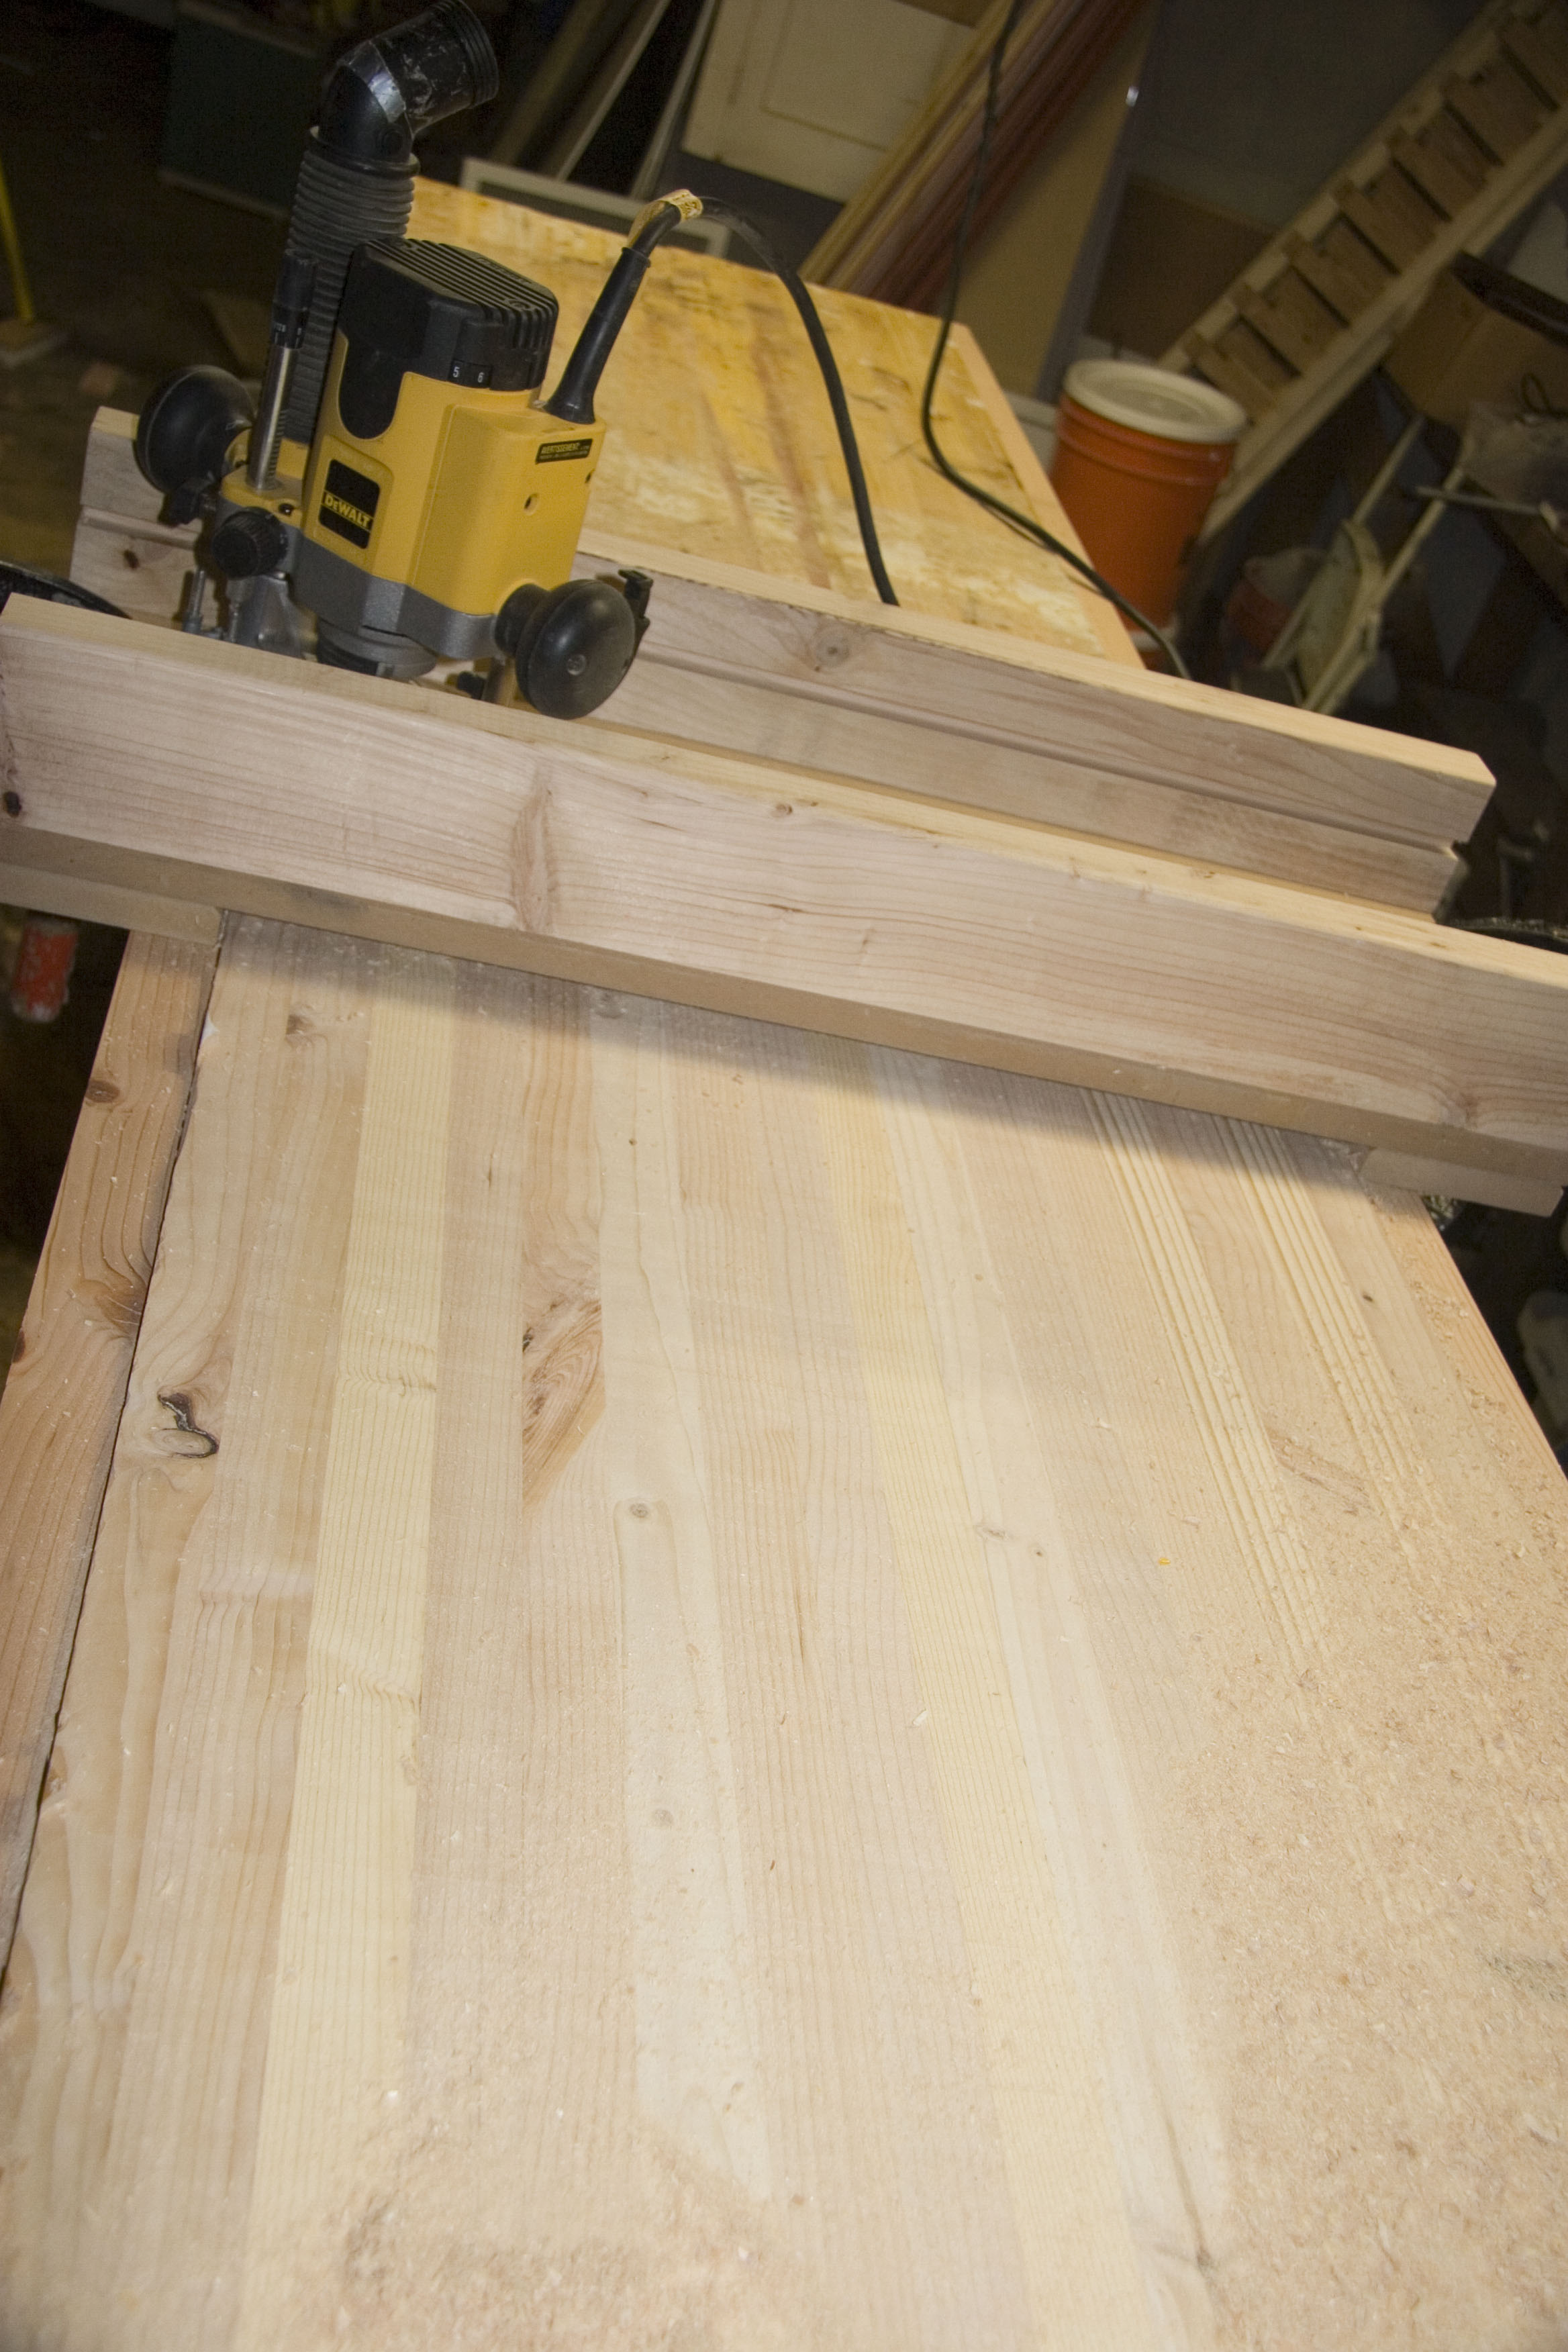
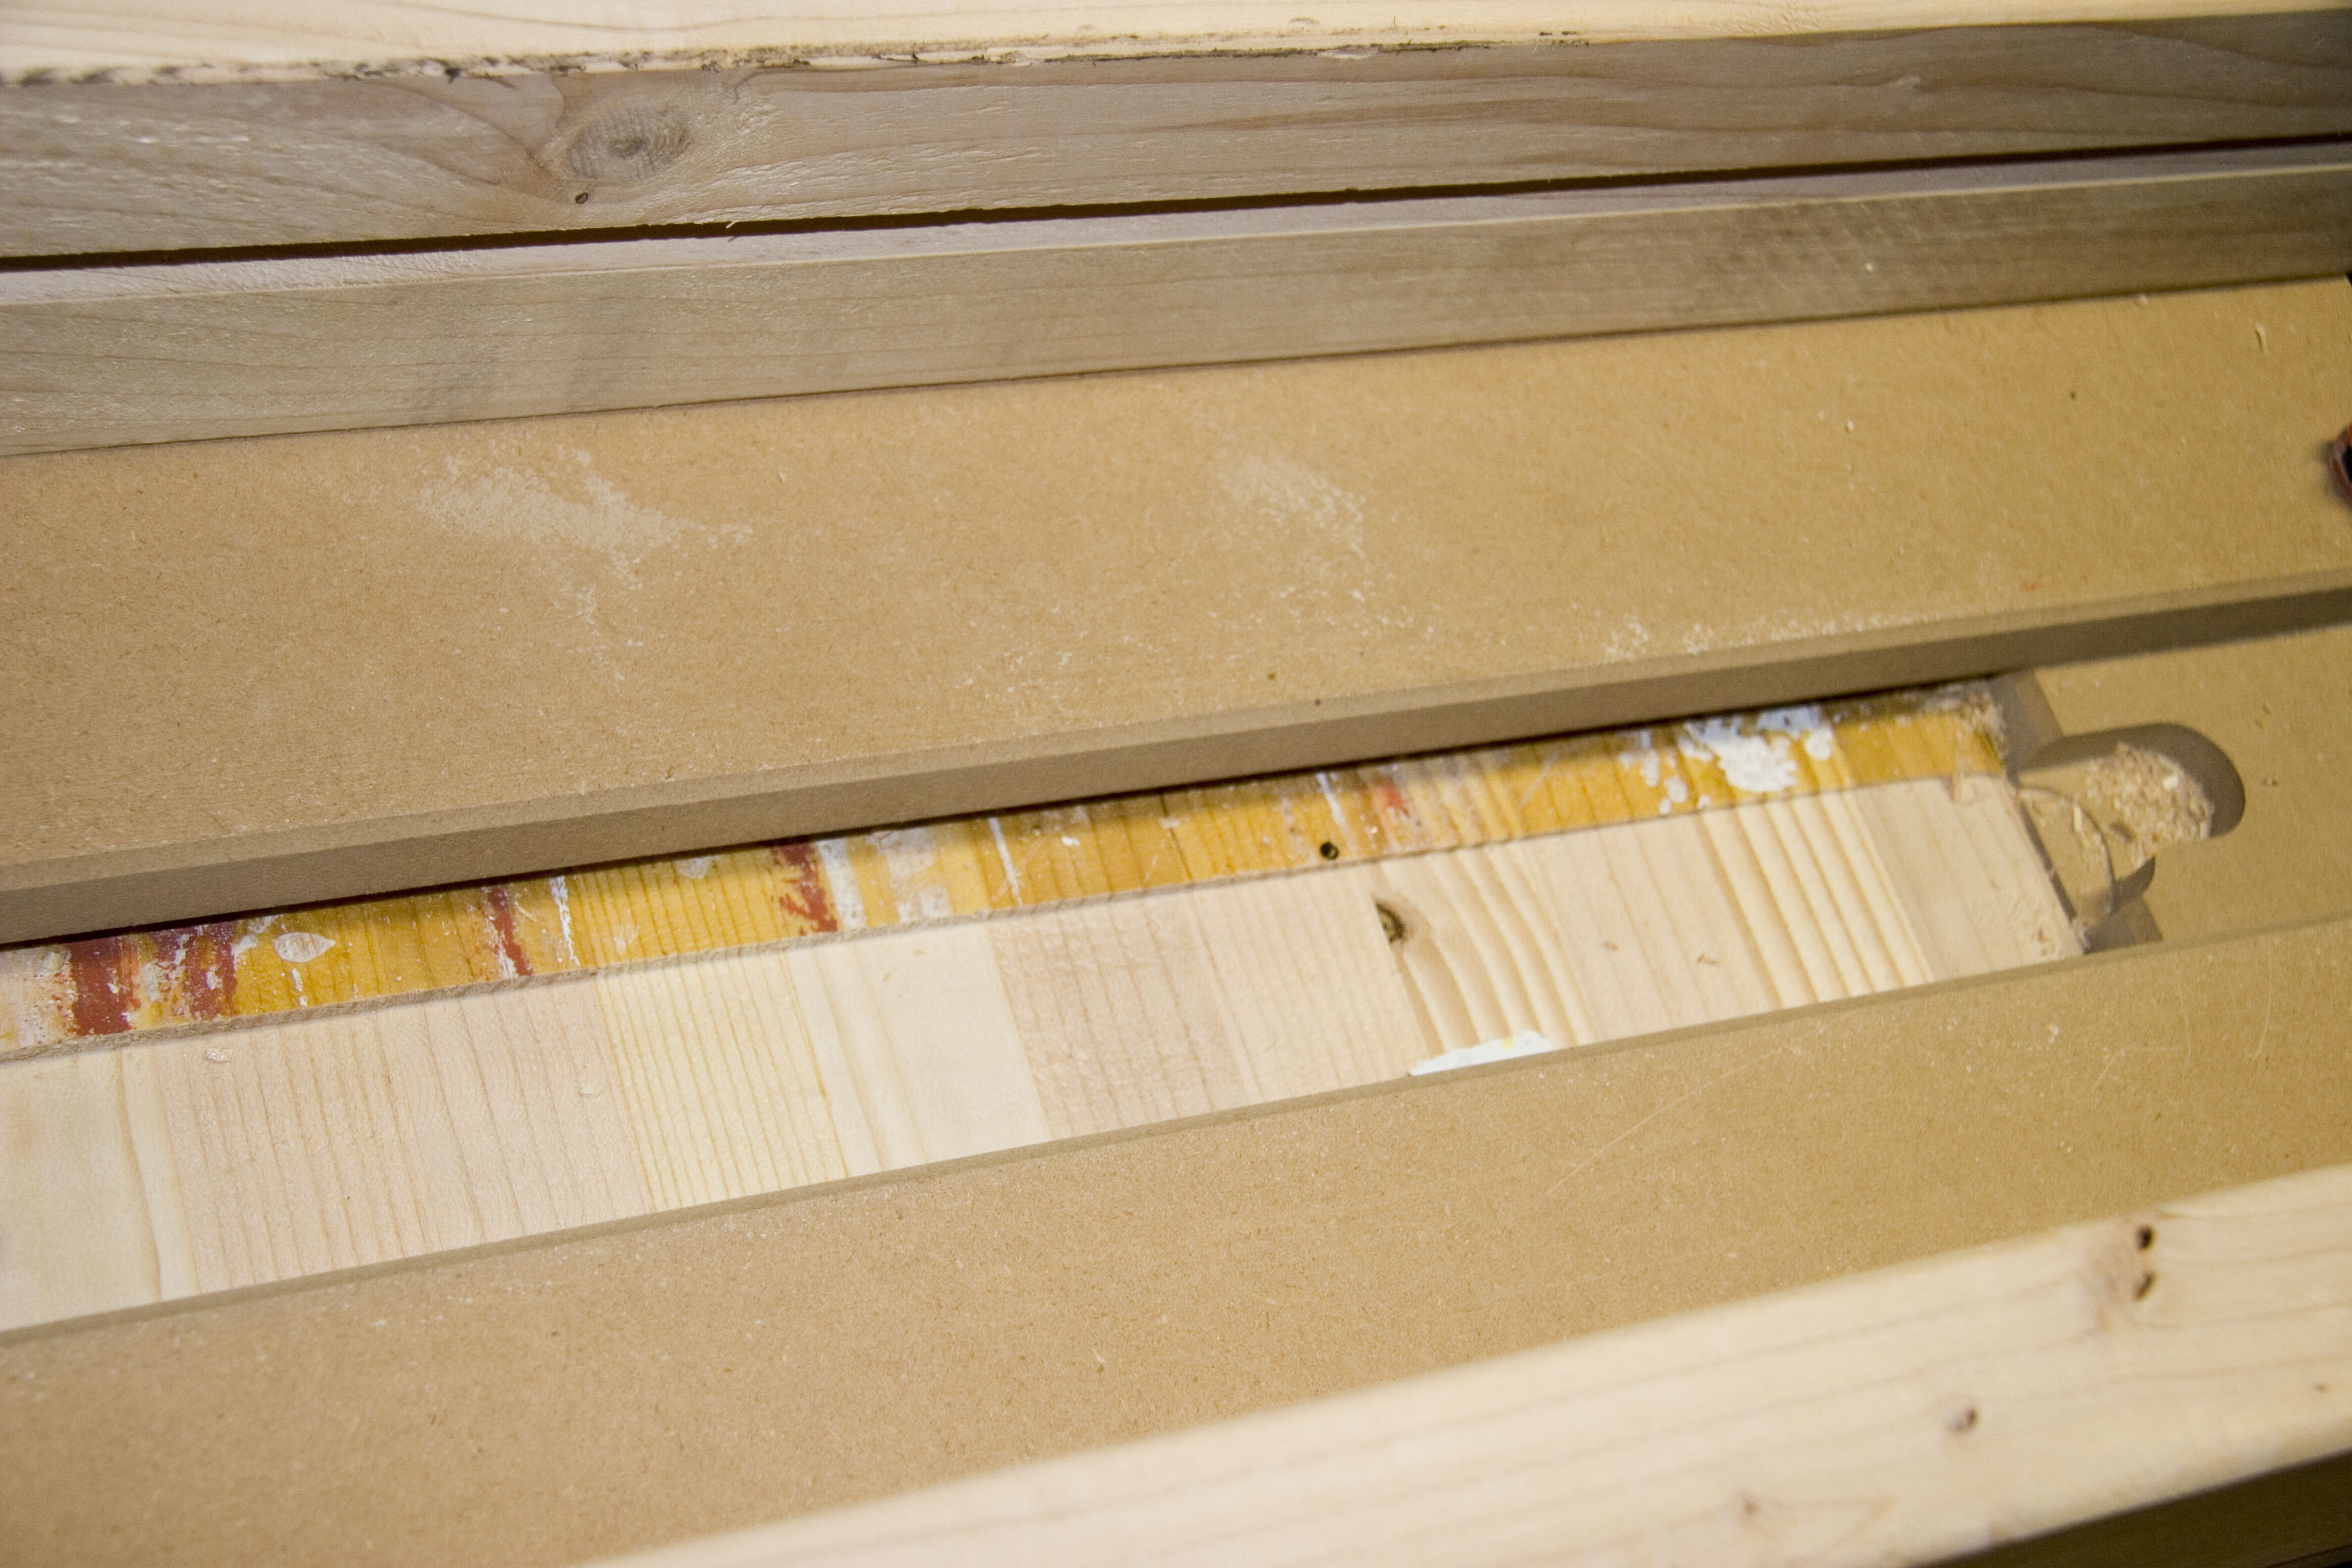
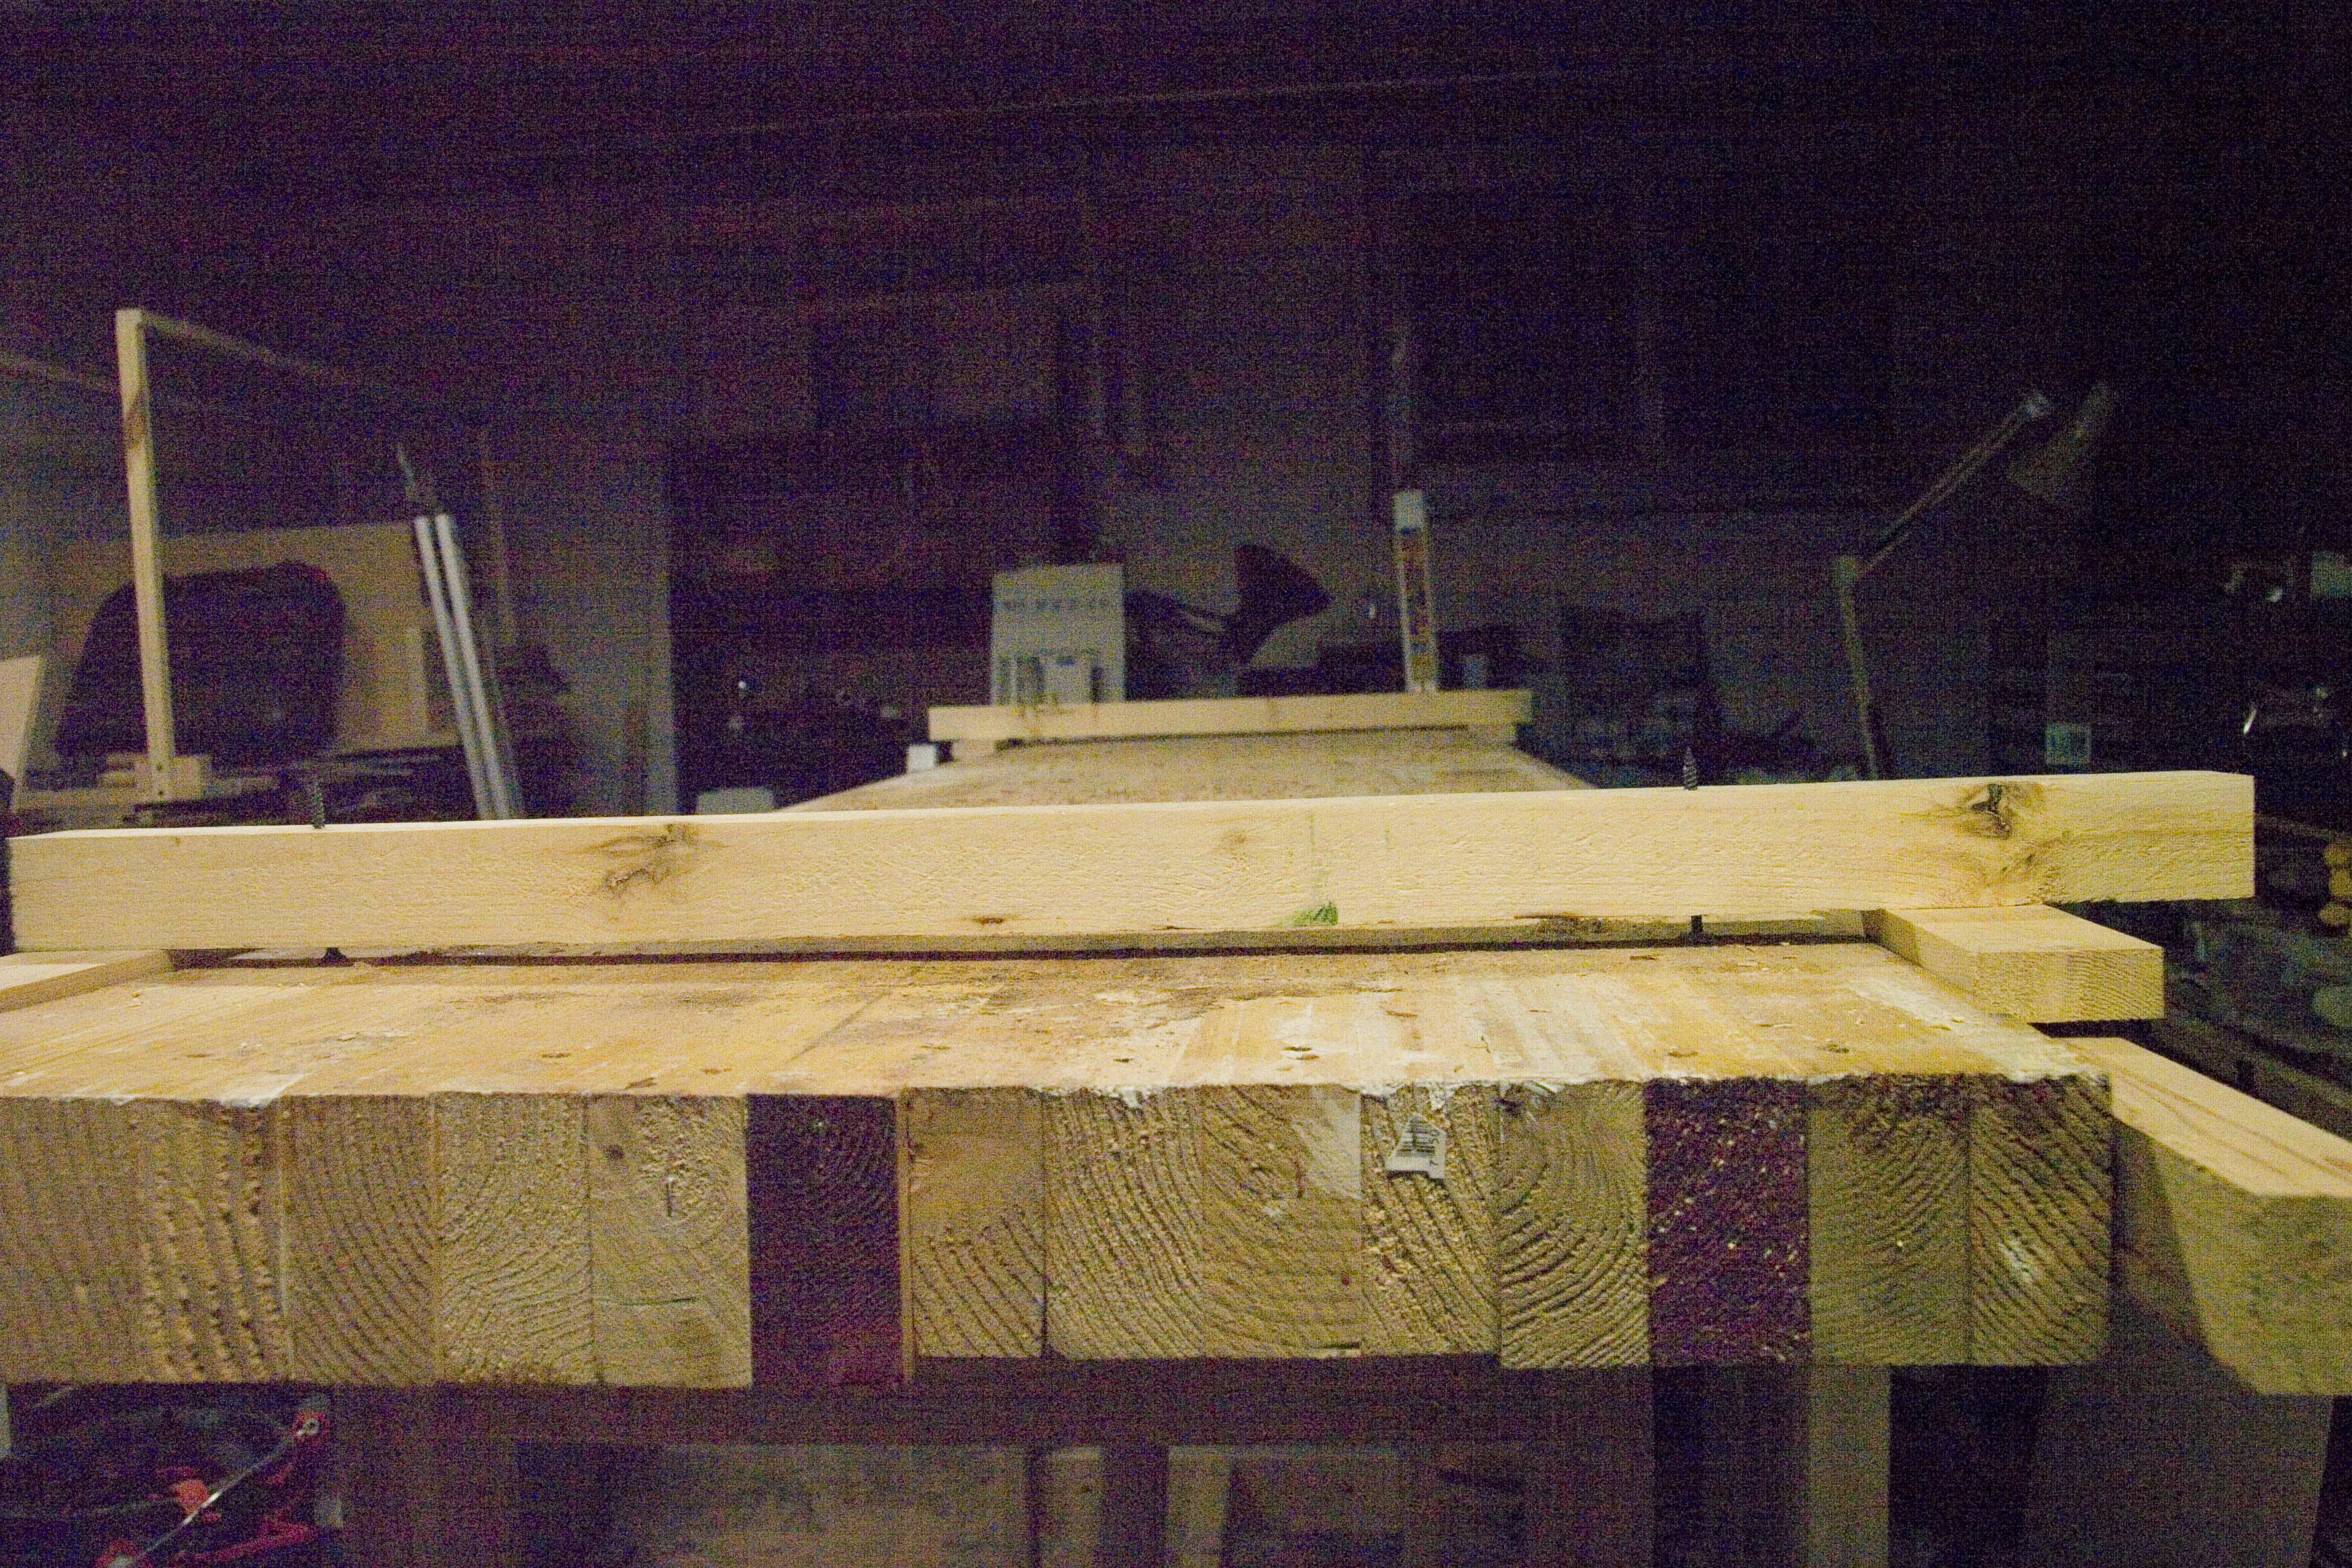
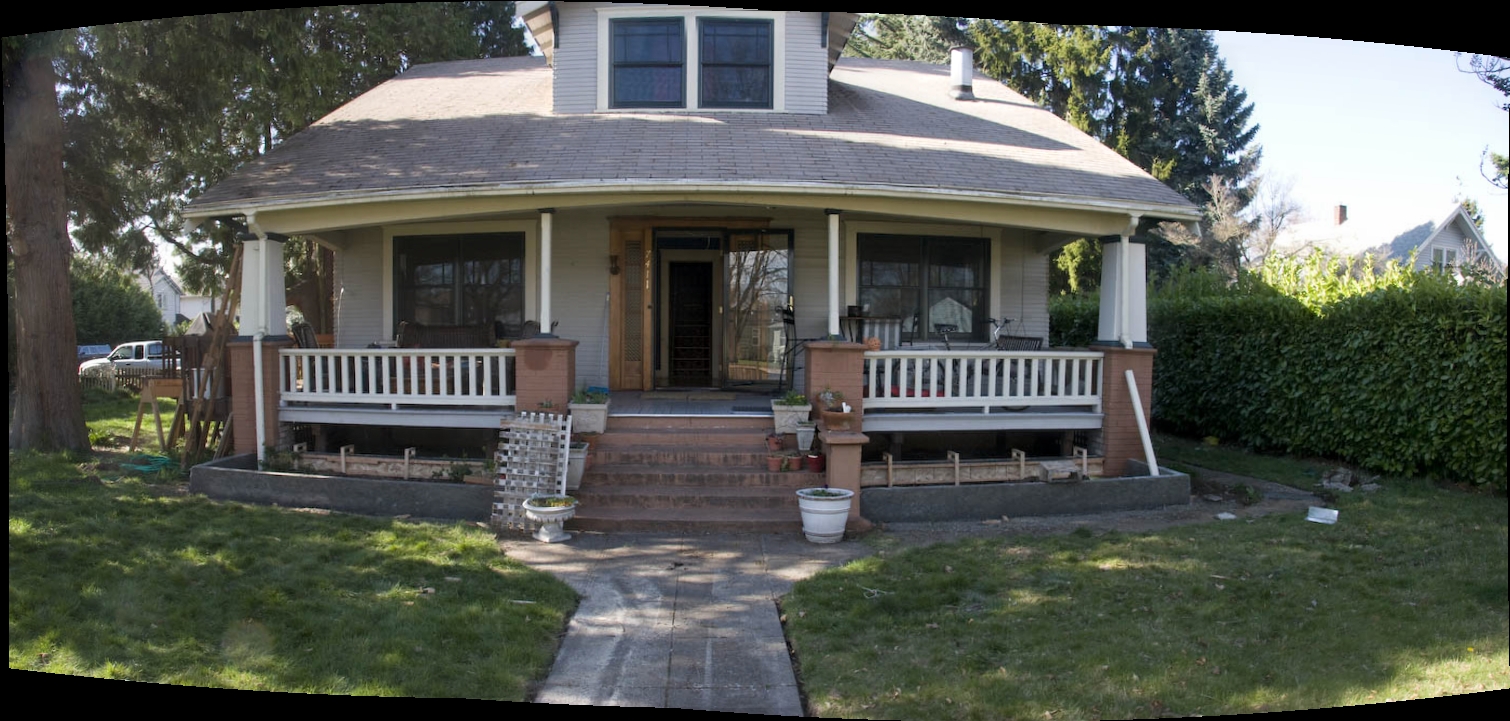
 Here is the after with the back wall portion still in progress
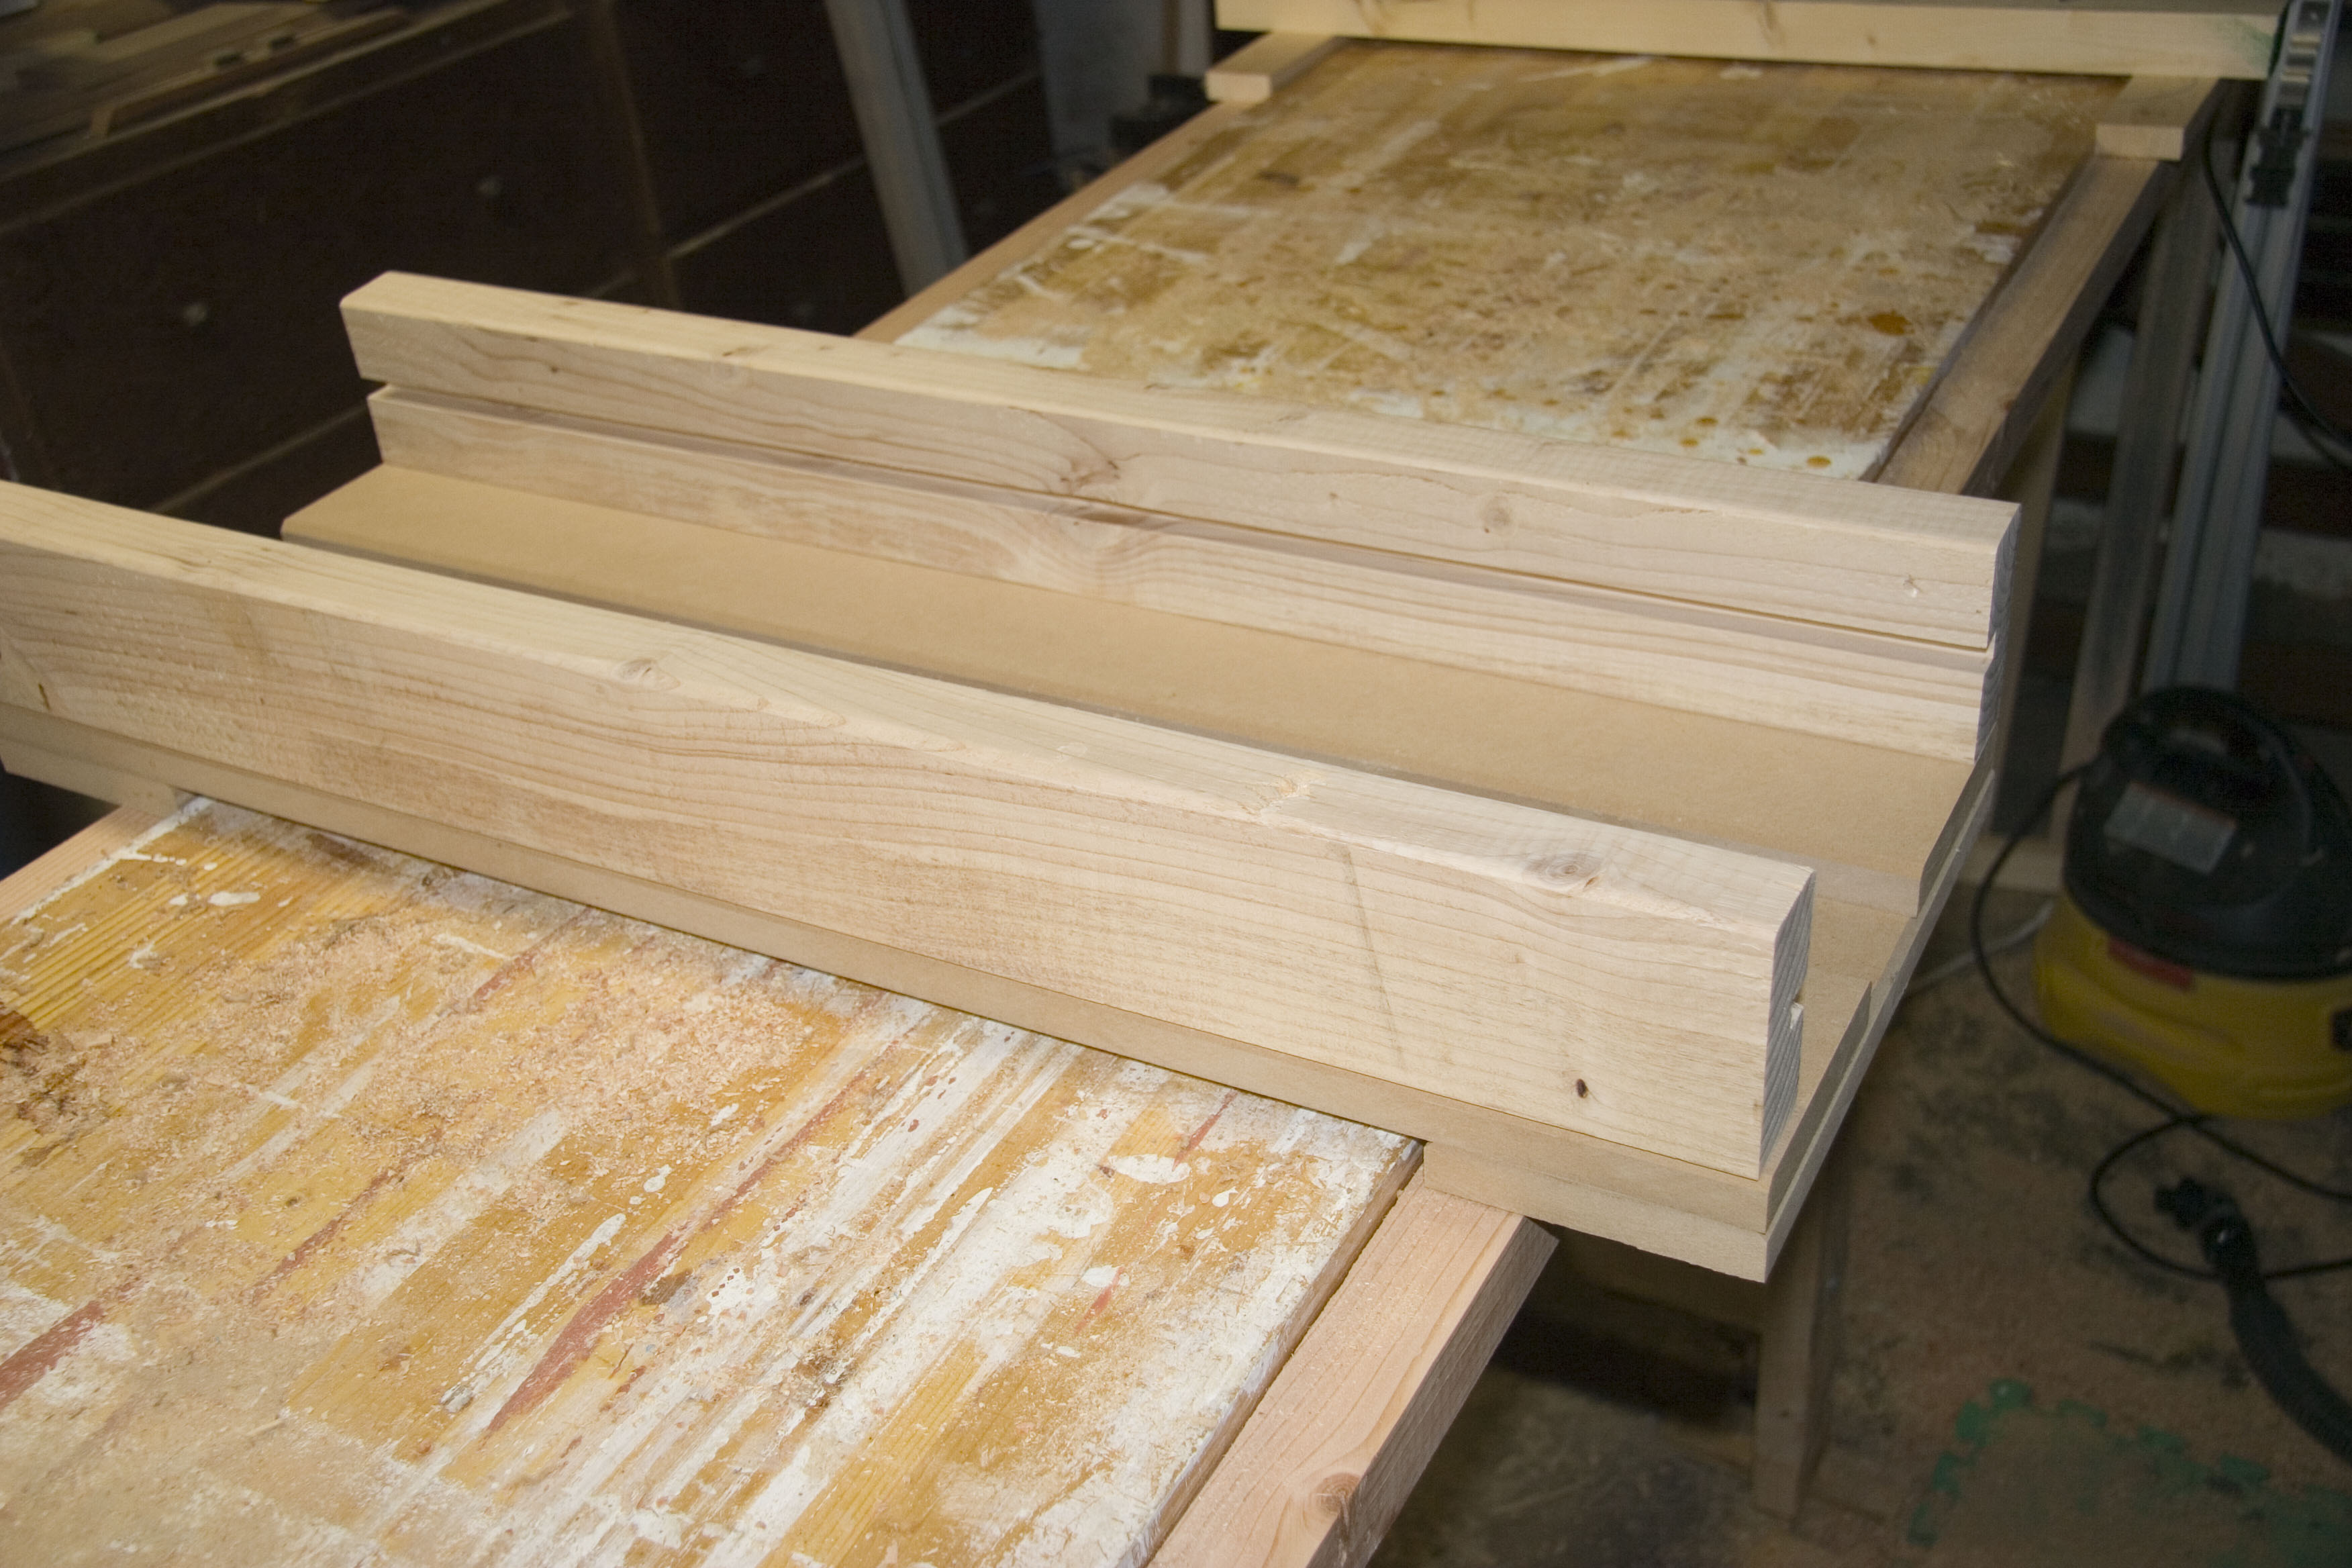
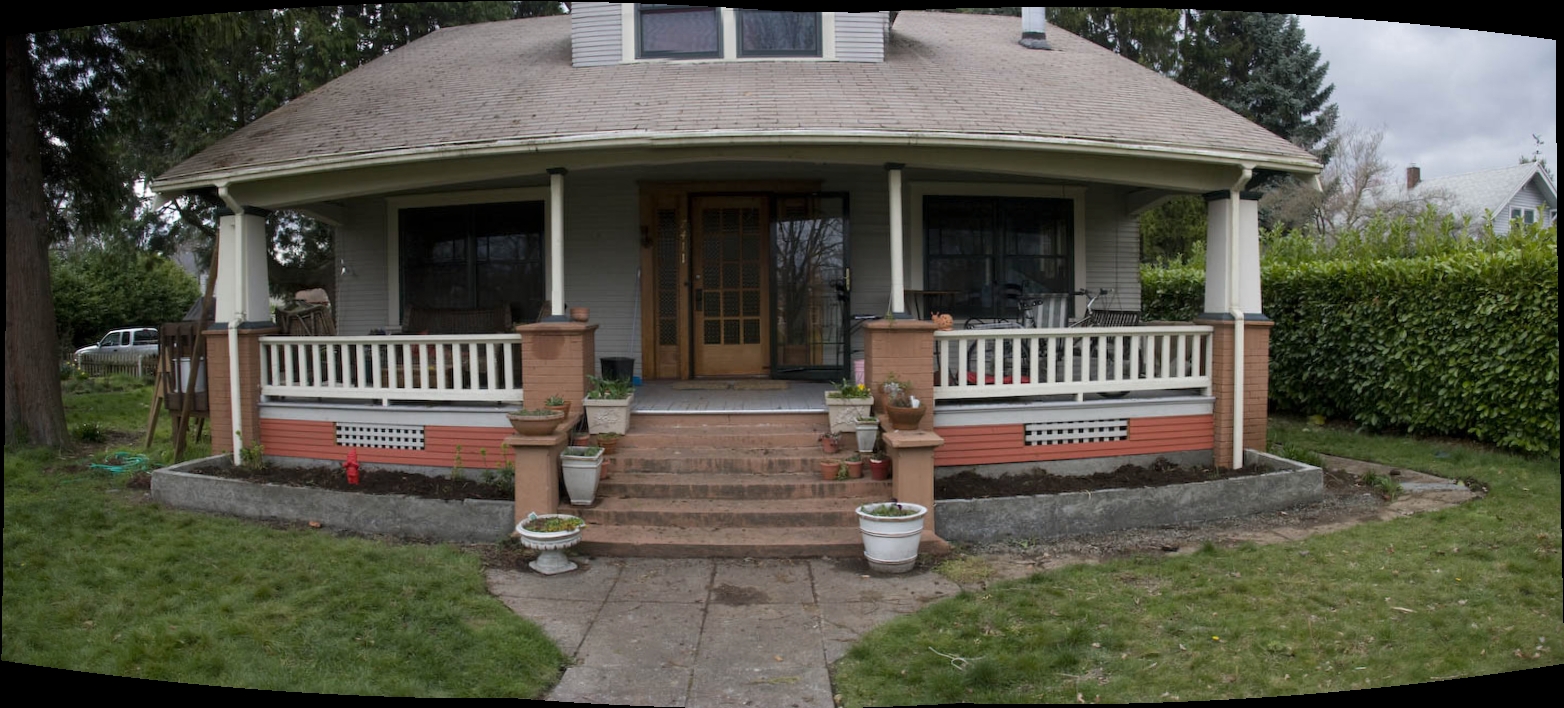
 This is the result


 One of the key reasons to have raised beds is that they enable the soil to warm up to a temperature appropriate for germinating seeds and small plant starts. Separate them somewhat from the ground. To further improve things, I’m experimenting with a small greenhouse. I call it a “baby greenhouse”.
The top is a simple frame with grooves to accommodate screen cord used to make/fix screen doors. The plastic is painters plastic. Works pretty well. The frame is assembled using using mortises and tenons. (I just got a mortising machine at the woodworking show this year)
Anyway, I have one of those wireless thermometers and using it, I think I have a winner. Whenever I check the temps inside and outside the cover, the difference is about 5 degrees F. Not bad. When things start to warm up, I think this will give me a lot of extra time in the growing season. If I’m just trying to avoid the last frost and I get 5 extra hit points (role playing games, anyone?) I could put stuff out a couple weeks early.
I’m thinking I’ll get some additional advantages as well. The soils in the beds is pretty drenched right now. Covering the beds should help. Cooler temps in the fall will be less of a hindrance as well.
One of the key reasons to have raised beds is that they enable the soil to warm up to a temperature appropriate for germinating seeds and small plant starts. Separate them somewhat from the ground. To further improve things, I’m experimenting with a small greenhouse. I call it a “baby greenhouse”.
The top is a simple frame with grooves to accommodate screen cord used to make/fix screen doors. The plastic is painters plastic. Works pretty well. The frame is assembled using using mortises and tenons. (I just got a mortising machine at the woodworking show this year)
Anyway, I have one of those wireless thermometers and using it, I think I have a winner. Whenever I check the temps inside and outside the cover, the difference is about 5 degrees F. Not bad. When things start to warm up, I think this will give me a lot of extra time in the growing season. If I’m just trying to avoid the last frost and I get 5 extra hit points (role playing games, anyone?) I could put stuff out a couple weeks early.
I’m thinking I’ll get some additional advantages as well. The soils in the beds is pretty drenched right now. Covering the beds should help. Cooler temps in the fall will be less of a hindrance as well. 


 Here’s my latest progress on my solar collector. in order to build supports for the copper, I took some wood strips, drilled some 1/2″ holes and ripped them in half. The frame of the collector is a couple 2x4s, planed down a bit, mitered biscuited, and glued. I also drilled some larger holes in the sides to access the copper. I used 1 1/4″ bit to drill those. The back of the panel is a 2’x4′ piece of OSB, rabbeted and stapled to the back with my 1/4″ crown stapler. (I would add the my stapler is one of the most used tools in my shop. If you have a compressor, you need to take a trip down to the local Harbor Freight and get one of their $20 staplers. I also like using the staples with the adhesive coating on them. Driving them causes heat which causes the adhesive to melt a bit and make for staples that don’t want to come out.

 Here you see, I spray painted the collector plates black. I used about a half can of matt black rustoleum enamel. I also painted the grove on the other side to somewhat insulate the galvanized from the copper.


 To finish off, I cut a small groove down each side of the frame to create plastic top. I seriously doubt that that plastic will last. In fast, I expect it to sag and melt, but first I wanted to see how the whole system works. As you can see in the pictures, I am using the cord used to make screen doors to attach cheap painters plastic to the top. Pushing down into the groove stretches it out a bit. Notice that I added some staples to keep them in place.
Now we just need some sunshine!
To finish off, I cut a small groove down each side of the frame to create plastic top. I seriously doubt that that plastic will last. In fast, I expect it to sag and melt, but first I wanted to see how the whole system works. As you can see in the pictures, I am using the cord used to make screen doors to attach cheap painters plastic to the top. Pushing down into the groove stretches it out a bit. Notice that I added some staples to keep them in place.
Now we just need some sunshine! 


 As you can see from the pictures, I just took a couple pieces of scrap and build a simple form. I then just drive over it. A couple things to notice:

 Here are some pictures of my current progress. My intention is for water to enter one corner and leave the opposite corner. I figure this will lead to an equal resistance path through each of the tubes which are 1/2″ copper.
One thing about using dissimilar metals in contact with each other: one of them will corrode. After googling around a bit, I came across this site about metal corrosion and it looks like it will be the galvanized metal that will corrode. I figure that’s better than having the pipes spring a leak.
I have couple options on how to address this, I need to spray paint the flashing black anyway, so I’ll spray the grooves as well. Also, I’m gonna glue the pipes into the grooves which should further isolate the copper while hopefully acting as a sort of heat-sink grease.
That’s the current progress. Next, I’m gonna have to practice my copper sweating skills which I haven’t done in a couple years. I’ll also build up a box to hold it all.
Here are some pictures of my current progress. My intention is for water to enter one corner and leave the opposite corner. I figure this will lead to an equal resistance path through each of the tubes which are 1/2″ copper.
One thing about using dissimilar metals in contact with each other: one of them will corrode. After googling around a bit, I came across this site about metal corrosion and it looks like it will be the galvanized metal that will corrode. I figure that’s better than having the pipes spring a leak.
I have couple options on how to address this, I need to spray paint the flashing black anyway, so I’ll spray the grooves as well. Also, I’m gonna glue the pipes into the grooves which should further isolate the copper while hopefully acting as a sort of heat-sink grease.
That’s the current progress. Next, I’m gonna have to practice my copper sweating skills which I haven’t done in a couple years. I’ll also build up a box to hold it all.  here’s a picture of the finished project. It’s made out of OSB, a fairly cheap type of plywood, particle board. I don’t know how well it will hold up to moisture, but I’m hopeful.
 Here’s the base, which can also serve as the lid. I’m thinking that this will come in handy when “harvesting” the results in the lowest bins. Also, this libs have holes drilled on the perimeter to allow air.
 Here’s a closeup. just a simple miter joint. The rabbet was cut on my table saw.
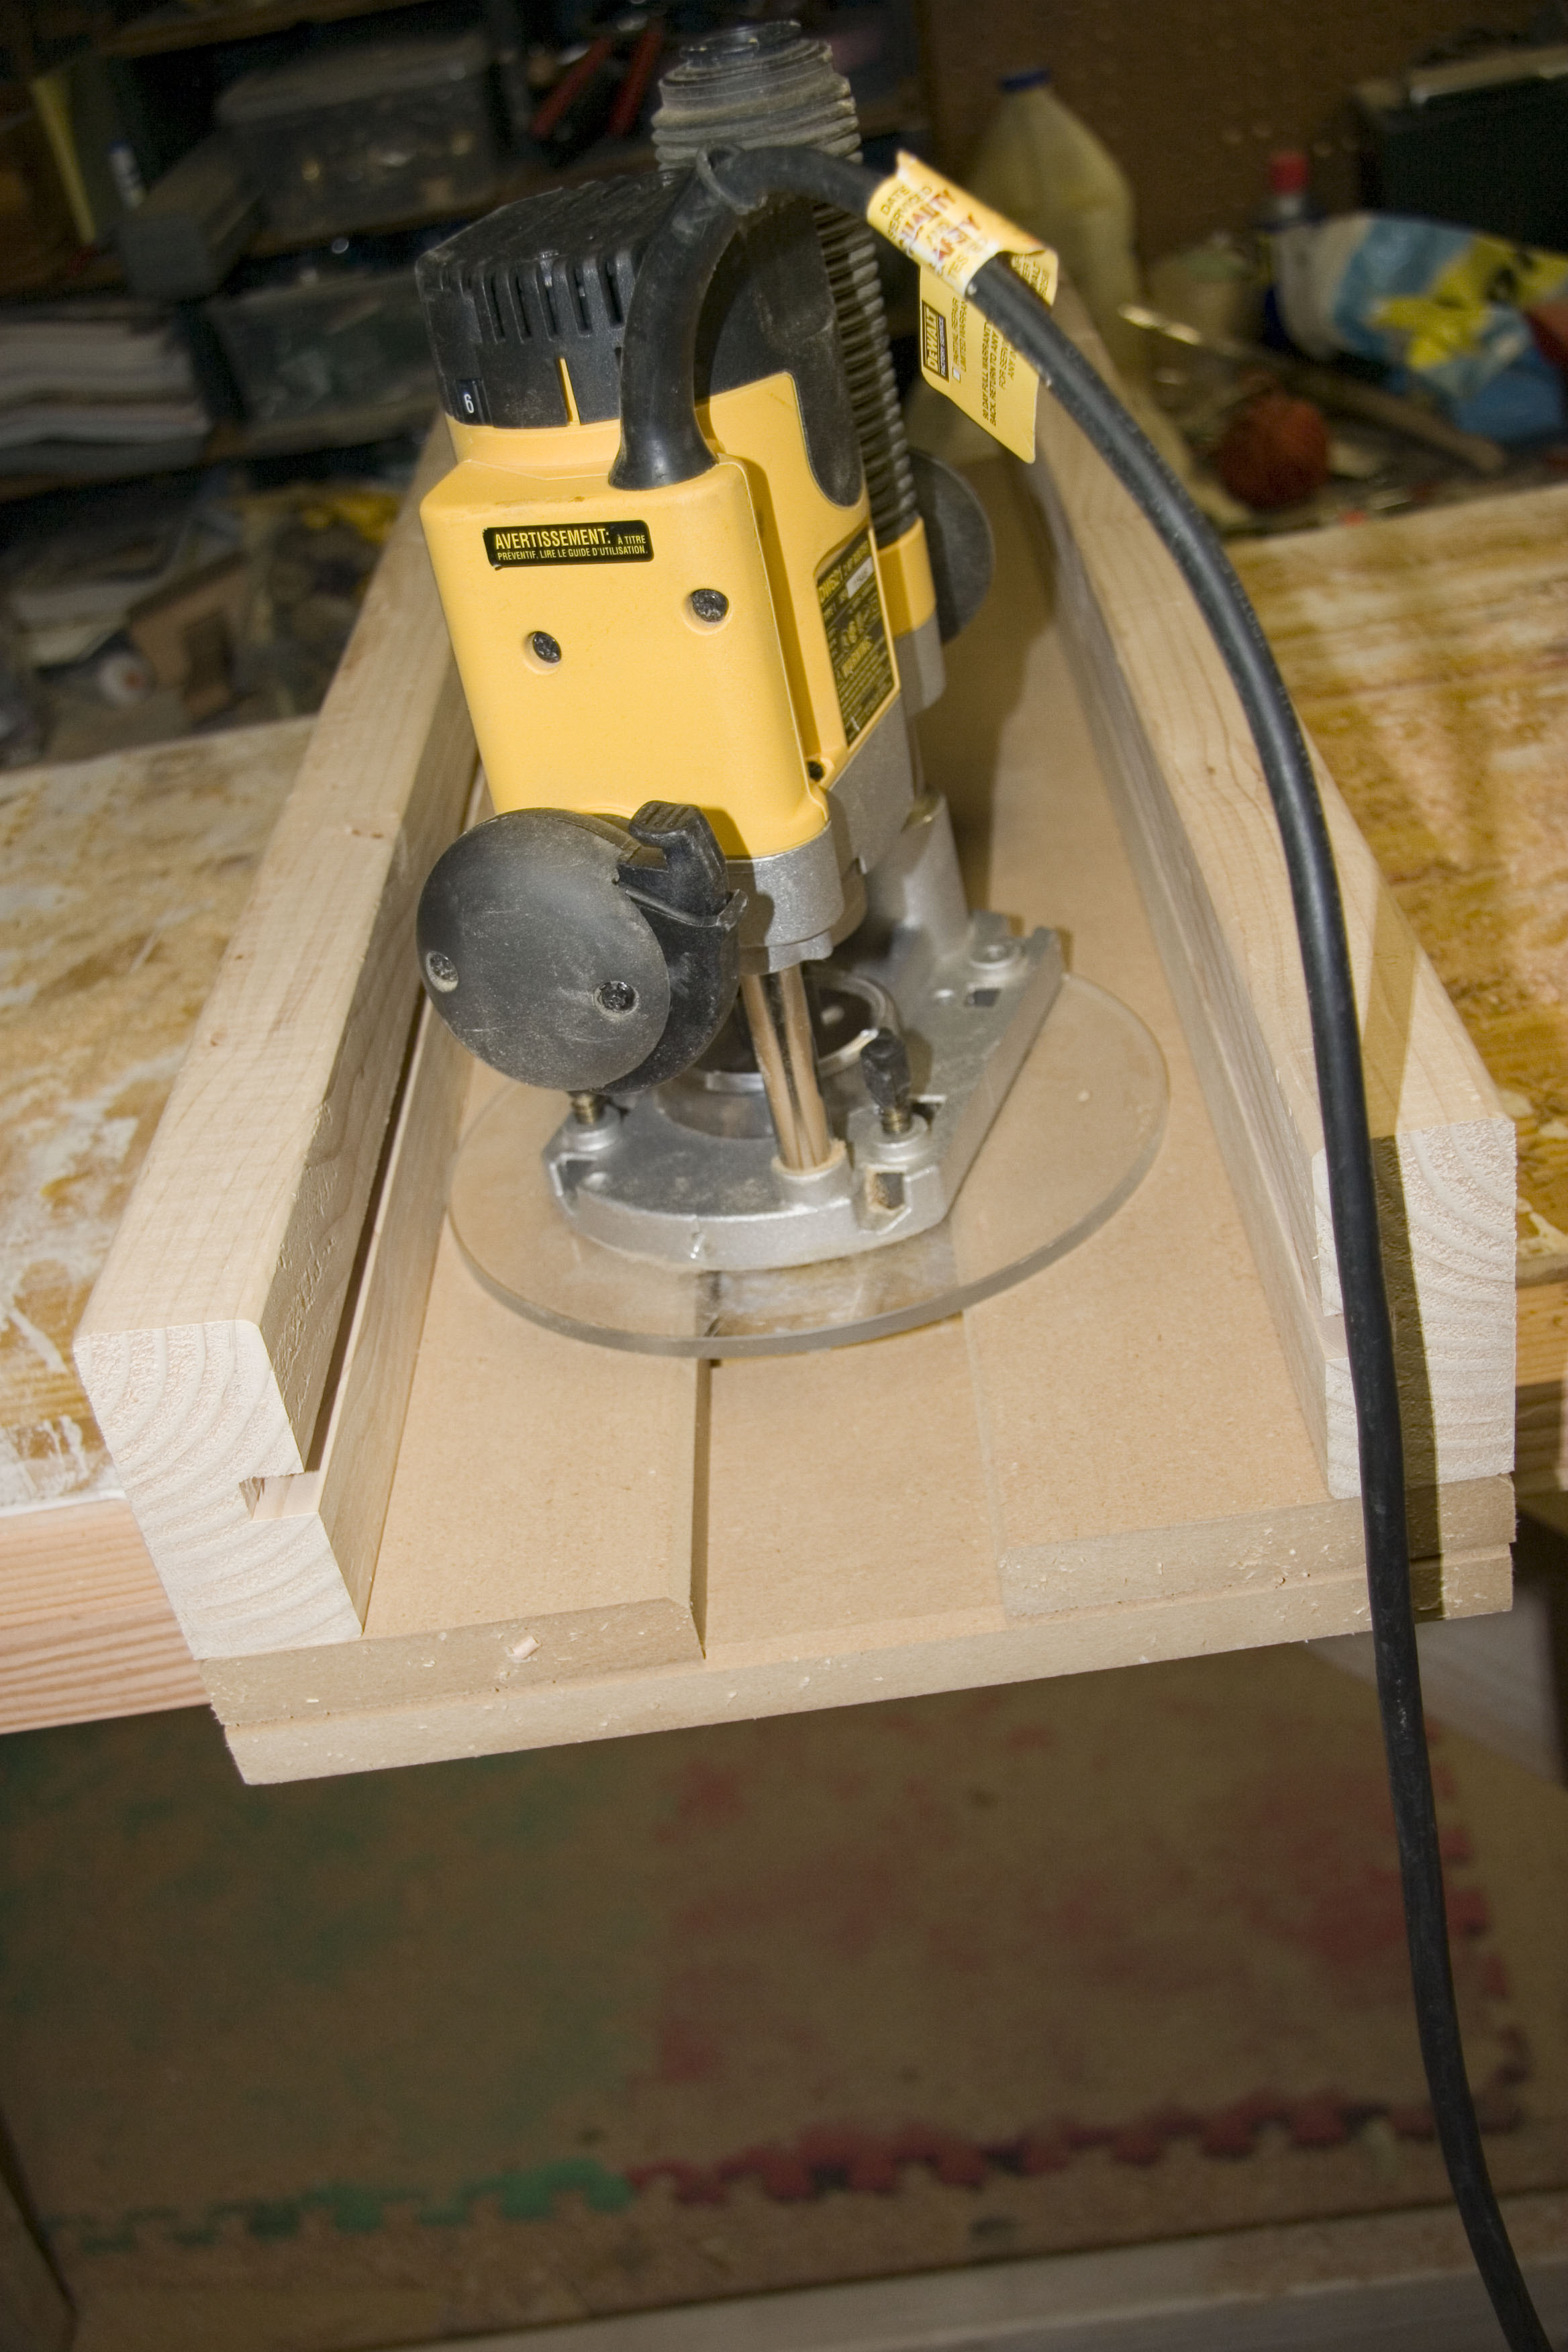
 Here’s the first level. The bottom is 4 1″x1.5″ wood strips, half-lapped together. I then stapled 1/2″ galvanized screening to it. Notice that the sides are tapered. to enable stacking. One level stacks on another by resting on the 2x2s in the corners. Since the sides are tapered, I angled them as well with this jig. Just a piece of 2×4 with a V cut into it.

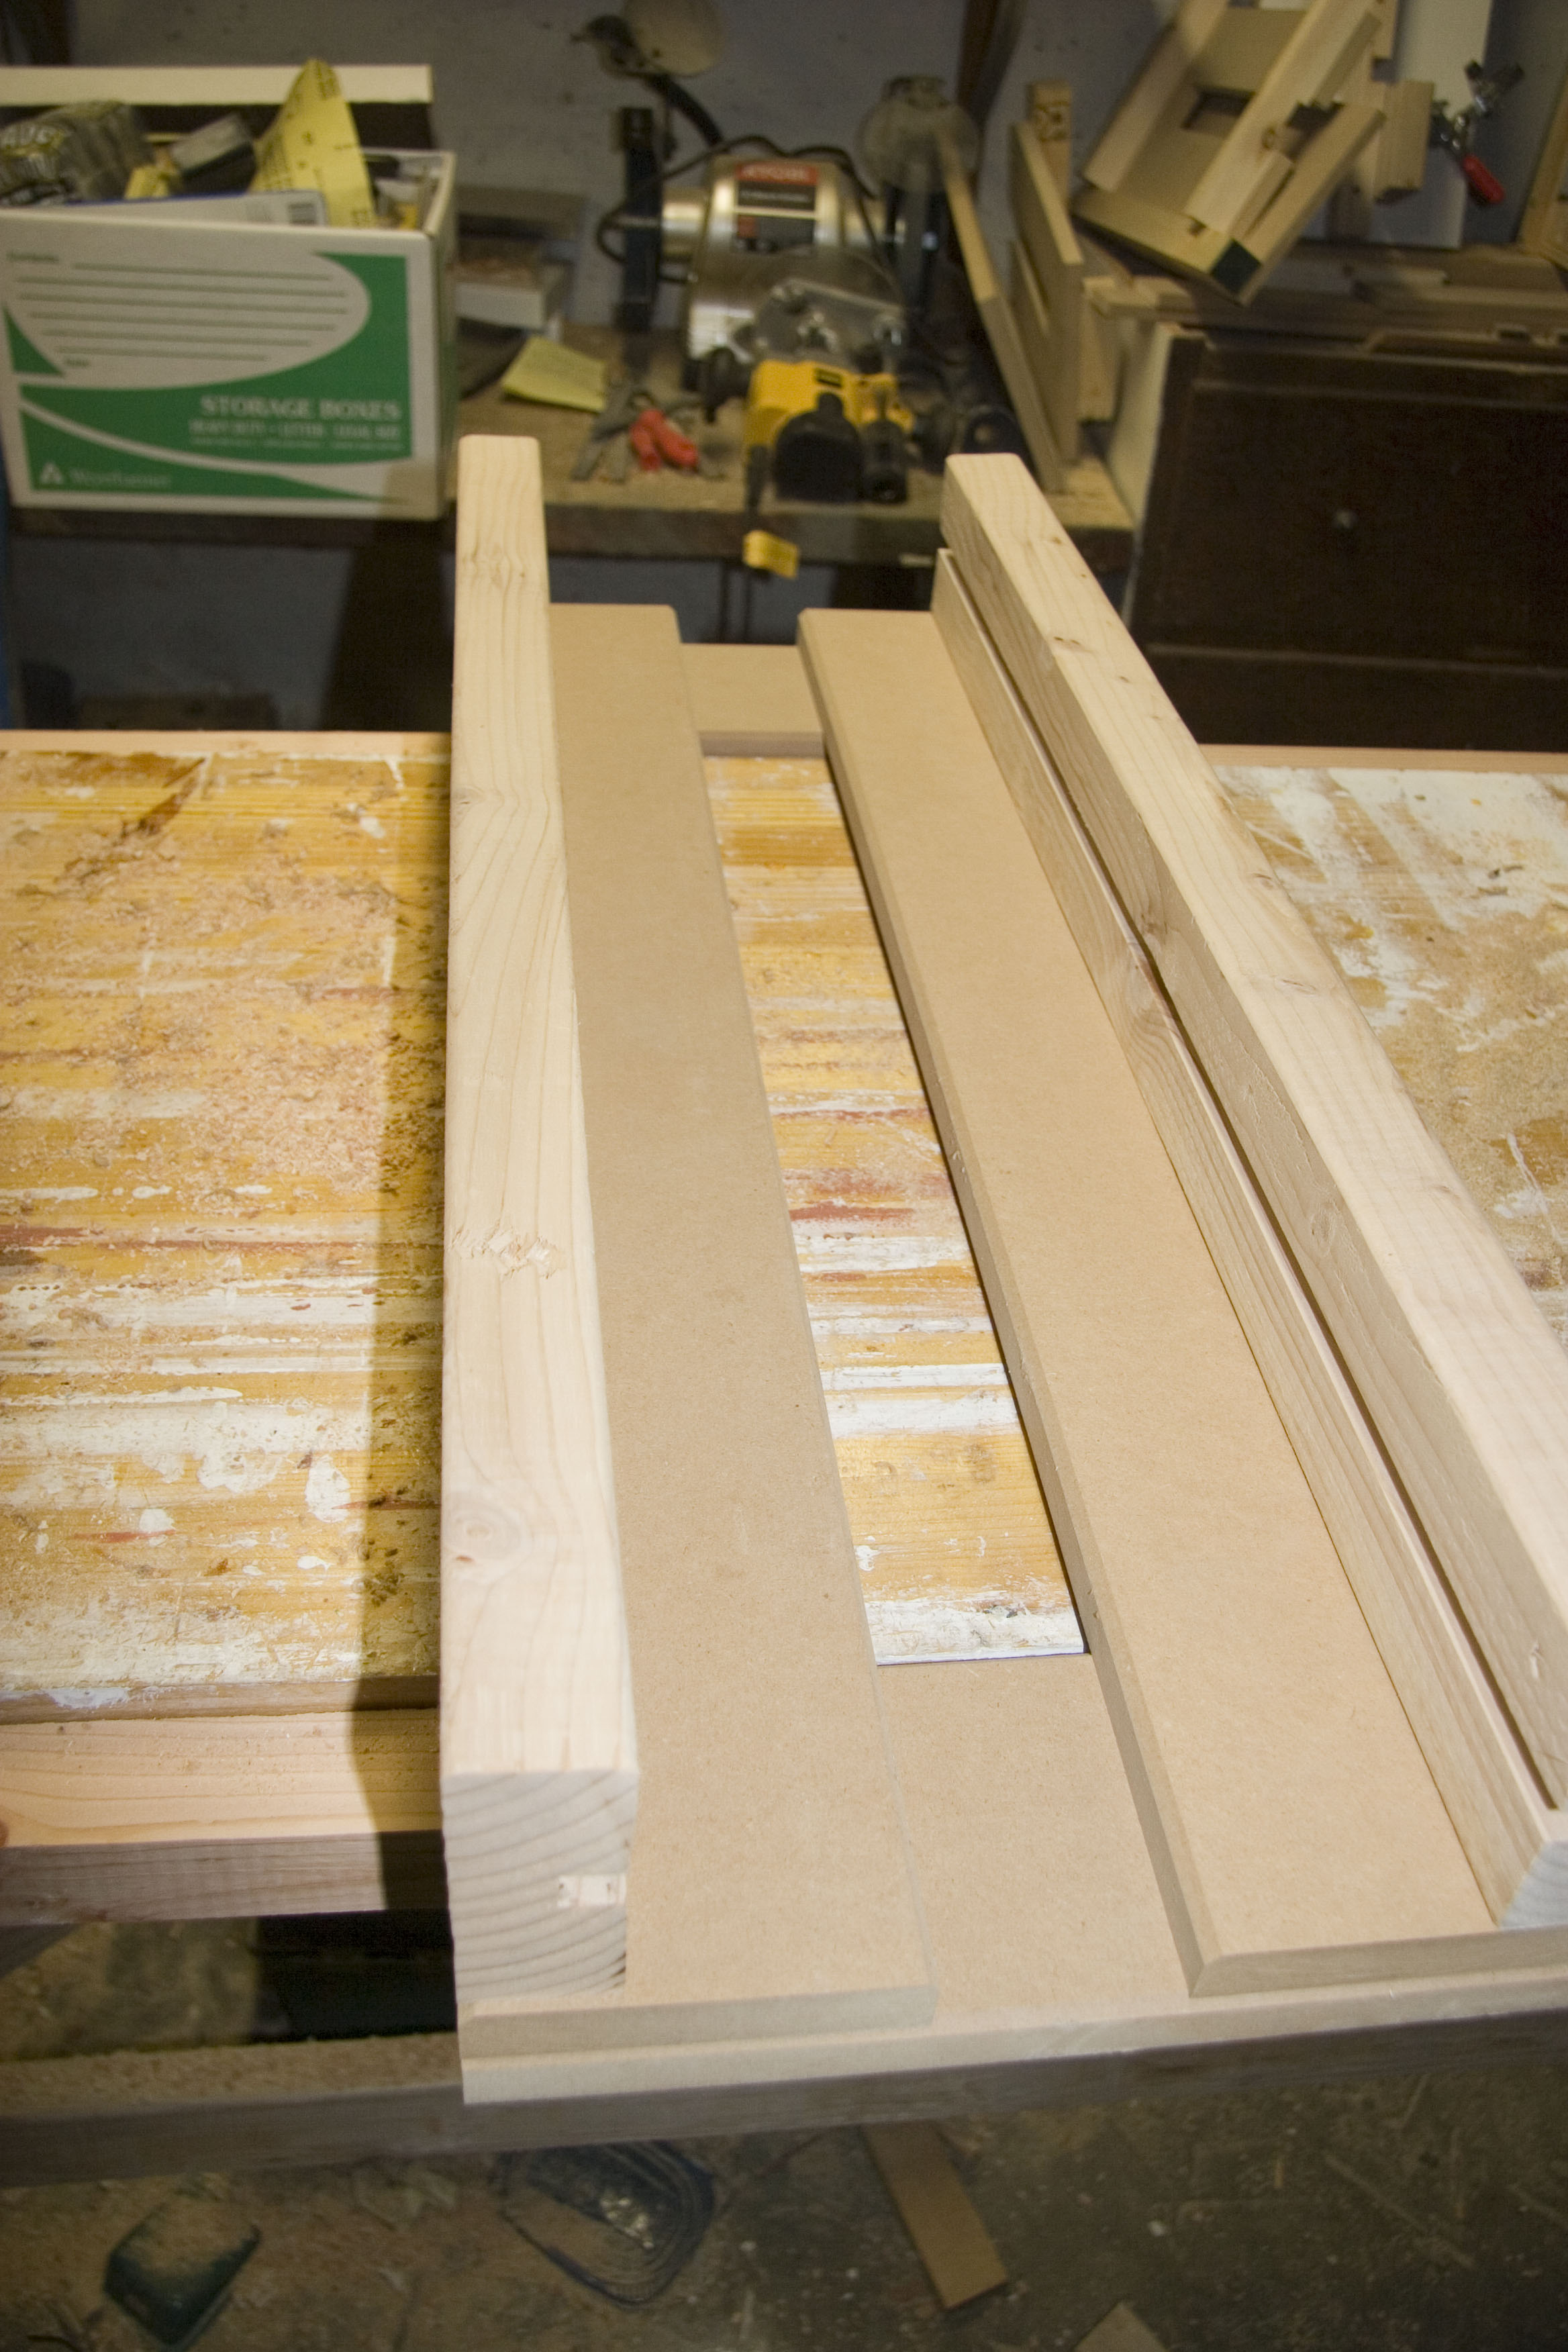
 Here is how I cut the compound miters on the sides. Just a 3/4″ strip of MDF I had laying around. The OSB is about 1/2″ think so I was looking for a taper of about 3/4″ to get a somewhat loose fit between stacks.
That’s it.
Here is how I cut the compound miters on the sides. Just a 3/4″ strip of MDF I had laying around. The OSB is about 1/2″ think so I was looking for a taper of about 3/4″ to get a somewhat loose fit between stacks.
That’s it.